Remote Desktop On Your Tesla

*Tesla Firmware Version 2019.12.1.2 or newer
*Requires WiFi connection or phone hotspot

Get Started

Tesla + Remote Desktop Guide

If you’re reading this there is a very good chance you own a Tesla in the US and would like to beef up your Tesla’s touchscreen.   To date,  Tesla has blocked access to audio playback via their Spotify web app and also restricted streaming video.  Some web developers have taken it upon themselves to release light versions of the Spotify web interface, however, functionality is limited.  I’m happy to announce, if you follow this guide, in 30 minutes or less, you can now have a desktop version of Spotify, Netflix, and Productivity Apps like Outlook/Skype up and running in your Tesla via Google Remote Desktop.

Total Install Time = 30 Minutes

But Wait, There’s More! Bring the office with you!

Charging while on a road trip doesn’t have to be boring.  Connect your Tesla to provide additional entertainment for your passengers. Access Spotify, Netflix, Slack, Skype, Microsoft Teams, Outlook, WebEx, and stream video (minus audio)

Video conferencing and screen shares are also now possible in your Tesla!

Demos

Step-By-Step Guide

This video will guide you through the entire process.  If you’d rather not watch a video, all required steps (including screenshots) have been documented below.

The Ultimate Guide To Supercharging Your Tesla’s Touchscreen with Remote Desktop

You’ll need to leverage a computer running google remote desktop. In the tutorial I’m standing up a dedicated cloud server specifically for my Tesla, but you could also use a computer you have laying around the house (if on a home network a VPN is optional).

1 – Set Up Hosting

Spin up a dedicated Windows Server. Already have one you’d like to use? Skip to the next step

We’ll be using TurnkeyInternet to load up our Windows Server.  They offer high powered Virtual Private Servers (VPS) at incredible rates.  They’re also 100% green.

Select the T40 Server Option (4 CPU’s / 4 GB RAM / 40 GB HDD / 1000 TB Bandwidth).  You really don’t want to be using anything less as performance will suffer.

Next, choose the location that’s closest to you (to minimize latency) and select Windows Server 2016 Standard 64bit – Evaluation Edition.  This version of Windows includes a trial 180 day license (no additional fees)!  When the license expires, just spin up a new VPS, and reinstall Windows to reset back to 180 days.  Once you’ve selected your location and OS, click Continue.

Enter your details and checkout.  Once your order is complete, click the link on the Order Confirmation screen to view the Client Area and manage your new server.

Click into your Server to be brought to the manage product screen.

From here, you’ll be able to see the current status of your server.  It will likely display as Offline for the first 10 minutes as the server boots up for the first time.  Keep refreshing this page every few minutes until your Status shows as online.  Once online, you can VNC into it (choose the HTML VNC option when prompted).  You’ll want to maximize this VNC window.

Your administrator password is required to log into your server.  This can be found on the Additional Information tab on the manage product screen.  I’d recommend writing this password this down as we’ll need to refer back to it one more time.  Don’t worry about remembering it, we’re going to be changing it in a few minutes.  Watch out for uppercase I’s, they can sometimes look like lowercase L’s.  In my example the 6th character is an uppercase i.

2 – Server Online. Now What?

Now that we’re connected to Windows Server, let’s get this party started!

Disable IE Enhanced Security – Double check when the Server Manager loads that IE Security has been turned off.  This is required to get IE online and fulfill it’s sole purpose…the downloading of google chrome

Change Password – Unless you enjoy passwords you’ll never remember, I’d suggest updating your Administrator password.  Click on the search icon next to the Start menu and search for “Change Password”.  Open and follow the prompts.

Download & Install Google Chrome using Internet Explorer.  Navigate to Bing.com haha just kidding, Google.com and search for “Download Google Chrome”.  If you can’t figure out how to install Google Chrome you may want to stop here.

Time to configure Chrome Remote Desktop.  Now that Chrome has been installed, make sure you’ve closed down IE and search (within Chrome) for “Google Remote Desktop”.

If you haven’t already signed into chrome with your gmail account, you’ll be prompted to.  Once signed in, you’ll be asked to “Launch App”.

Click on “Get Started” within the My Computers section.  Immediately after clicking that button, you’ll be asked to “Enable remote connections”.  Accept and the process of installing a remote desktop client on your Windows Server will begin.  If the installer doesn’t automatically open up, run it within your browser, or locate the file within your downloads folder.

When the installer completes (should only take a few seconds) return back to the Remote Desktop app within Chrome and you should see a PIN creation screen.  This PIN will only need to be entered the first time you access this server from a new device (i.e. Tesla browser).

Feel free to press the pencil to rename your server to something more recognizable, like Tesla.

3 – Install Spotify and Everything Else

Now that we’ve set up our remote machine, we can begin installing pretty much anything we want to make use of from our Tesla

Navigate to Spotify.com and download the desktop client to your server.  Log in with your Spotify premium account.  If you do not have Spotify premium, you will not be able to use this desktop client to play music via your phone in your Tesla.  I’d recommend also hiding any extra content like the friend’s activity view to maximize screen real estate.

If you’d like to watch Netflix, you’ll need to use a VPN client. I personally use and recommend NordVPN (link).

Once you’re connected to a VPN, sign into Netflix using your chrome browser.  You’ll be able to watch anything you’d like. The frame rate is quite impressive and definitely watchable.  In order to enable audio, you’ll need to also load the same content on your mobile device so that audio streams over bluetooth.  I’d recommend planning ahead of time for what you’d like to stream on Netflix and save it within the Downloads section of the app.  This will allow you to avoid any heavy data usage by keeping Netflix content local on your phone.  If you have an unlimited data plan, feel free to stream both on your server and phone.  Don’t worry about data usage on your TurnkeyInternet server.  You have 1000 TB / month.  Good luck using that up.  You always have the option of just streaming movies / TV with subtitles on.  

Watch any kind of video content using Dropbox.  You can download content to your phone, view video on Tesla, and stream audio through the app!

4 – Make Your Server Tesla Friendly

Now that we’ve installed all of the Apps we’d like to use in our Tesla, it’s time to make things more Tablet friendly

Pin Applications to your Start Menu and Taskbar so they are just a click away. Simply open up your start menu (or search) and locate an App you’d like more accessible. Right click and select both “Pin to Start” and “Pin to taskbar“.  In this example, because I’ve pinned Spotify to my taskbar, it’s just a click away.  Repeat this process for all Apps you’d like to frequently access.  I’d highly recommend also pinning the “On-Screen Keyboard” app as well.

Adjust your screen resolution by right clicking on your desktop and selecting “Display Settings”

Click on “Advanced display settings”.  Change the display resolution to 1280 x 1024.  This will fit your Tesla screen much better.

Adjust your Power settings by searching for “Power & sleep settings”.  Set the screen to never sleep so you don’t have to worry about the screen randomly going dark.

5 – Driver’s Seat

Now it’s time to walk to the car and get comfortable logging on and using the touchscreen

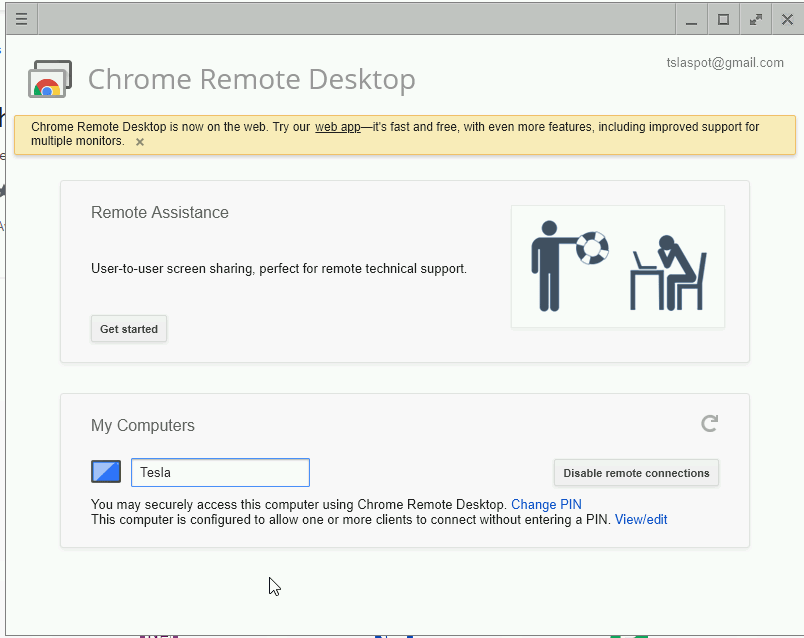
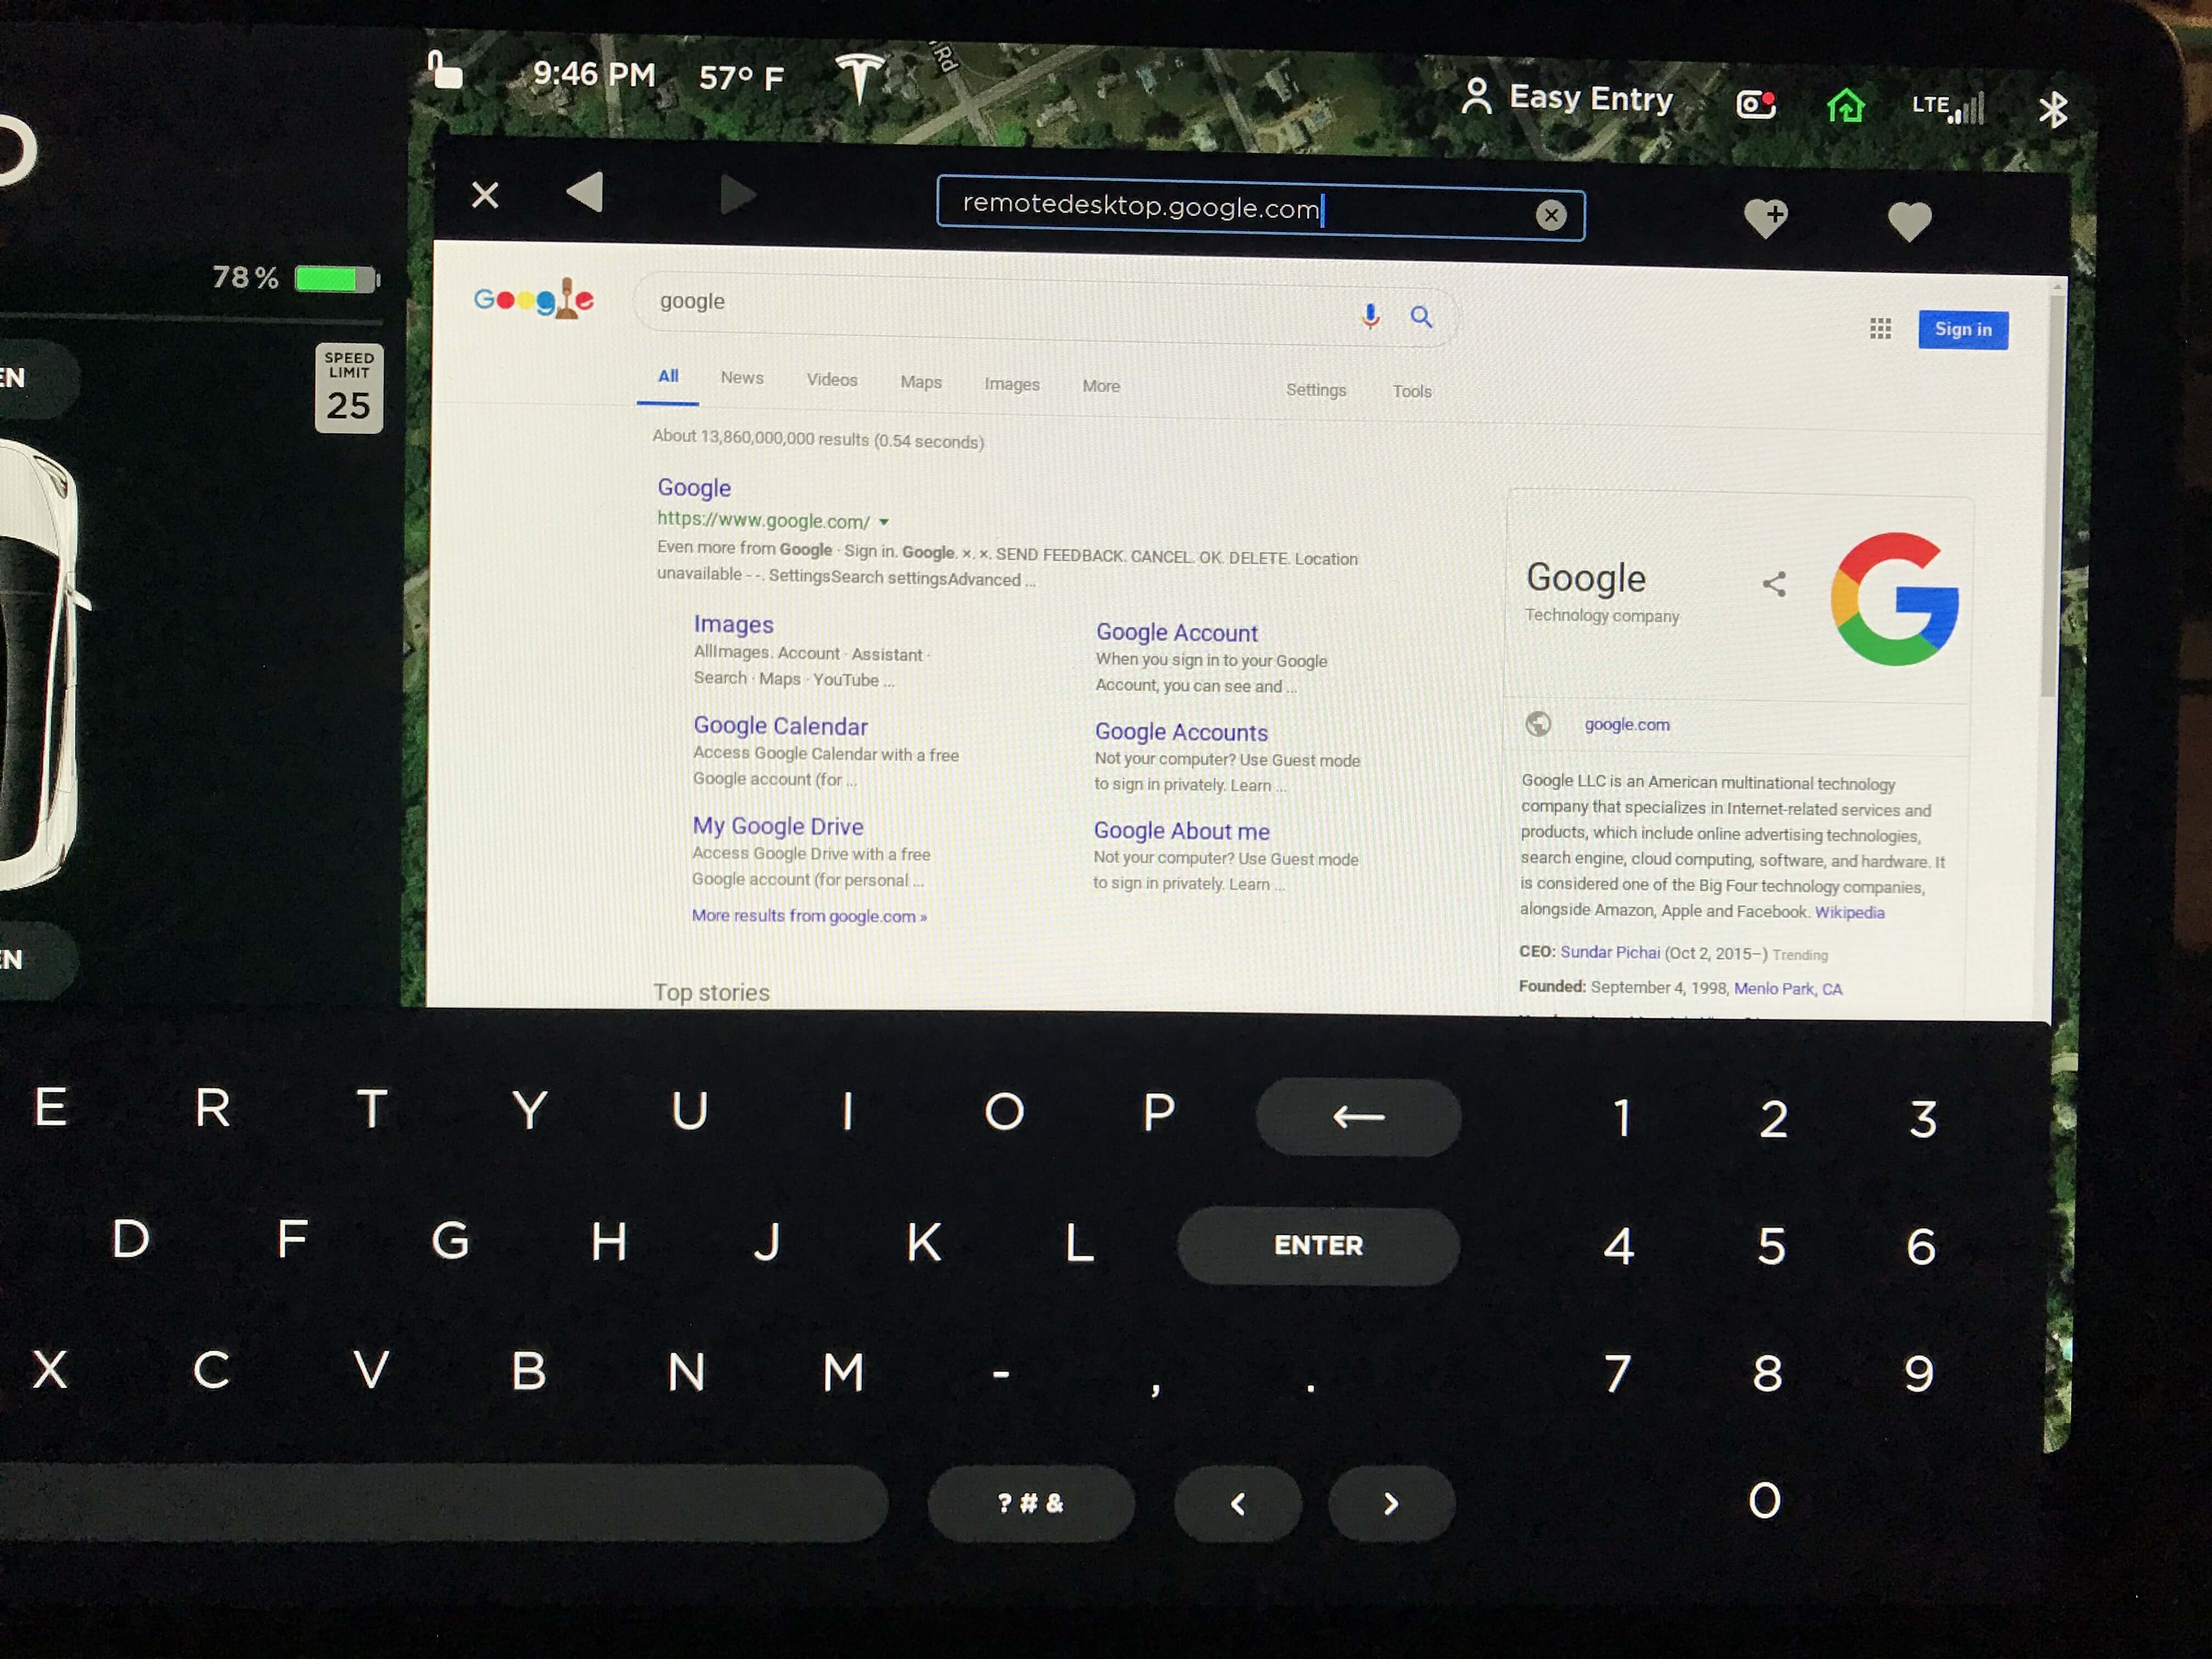
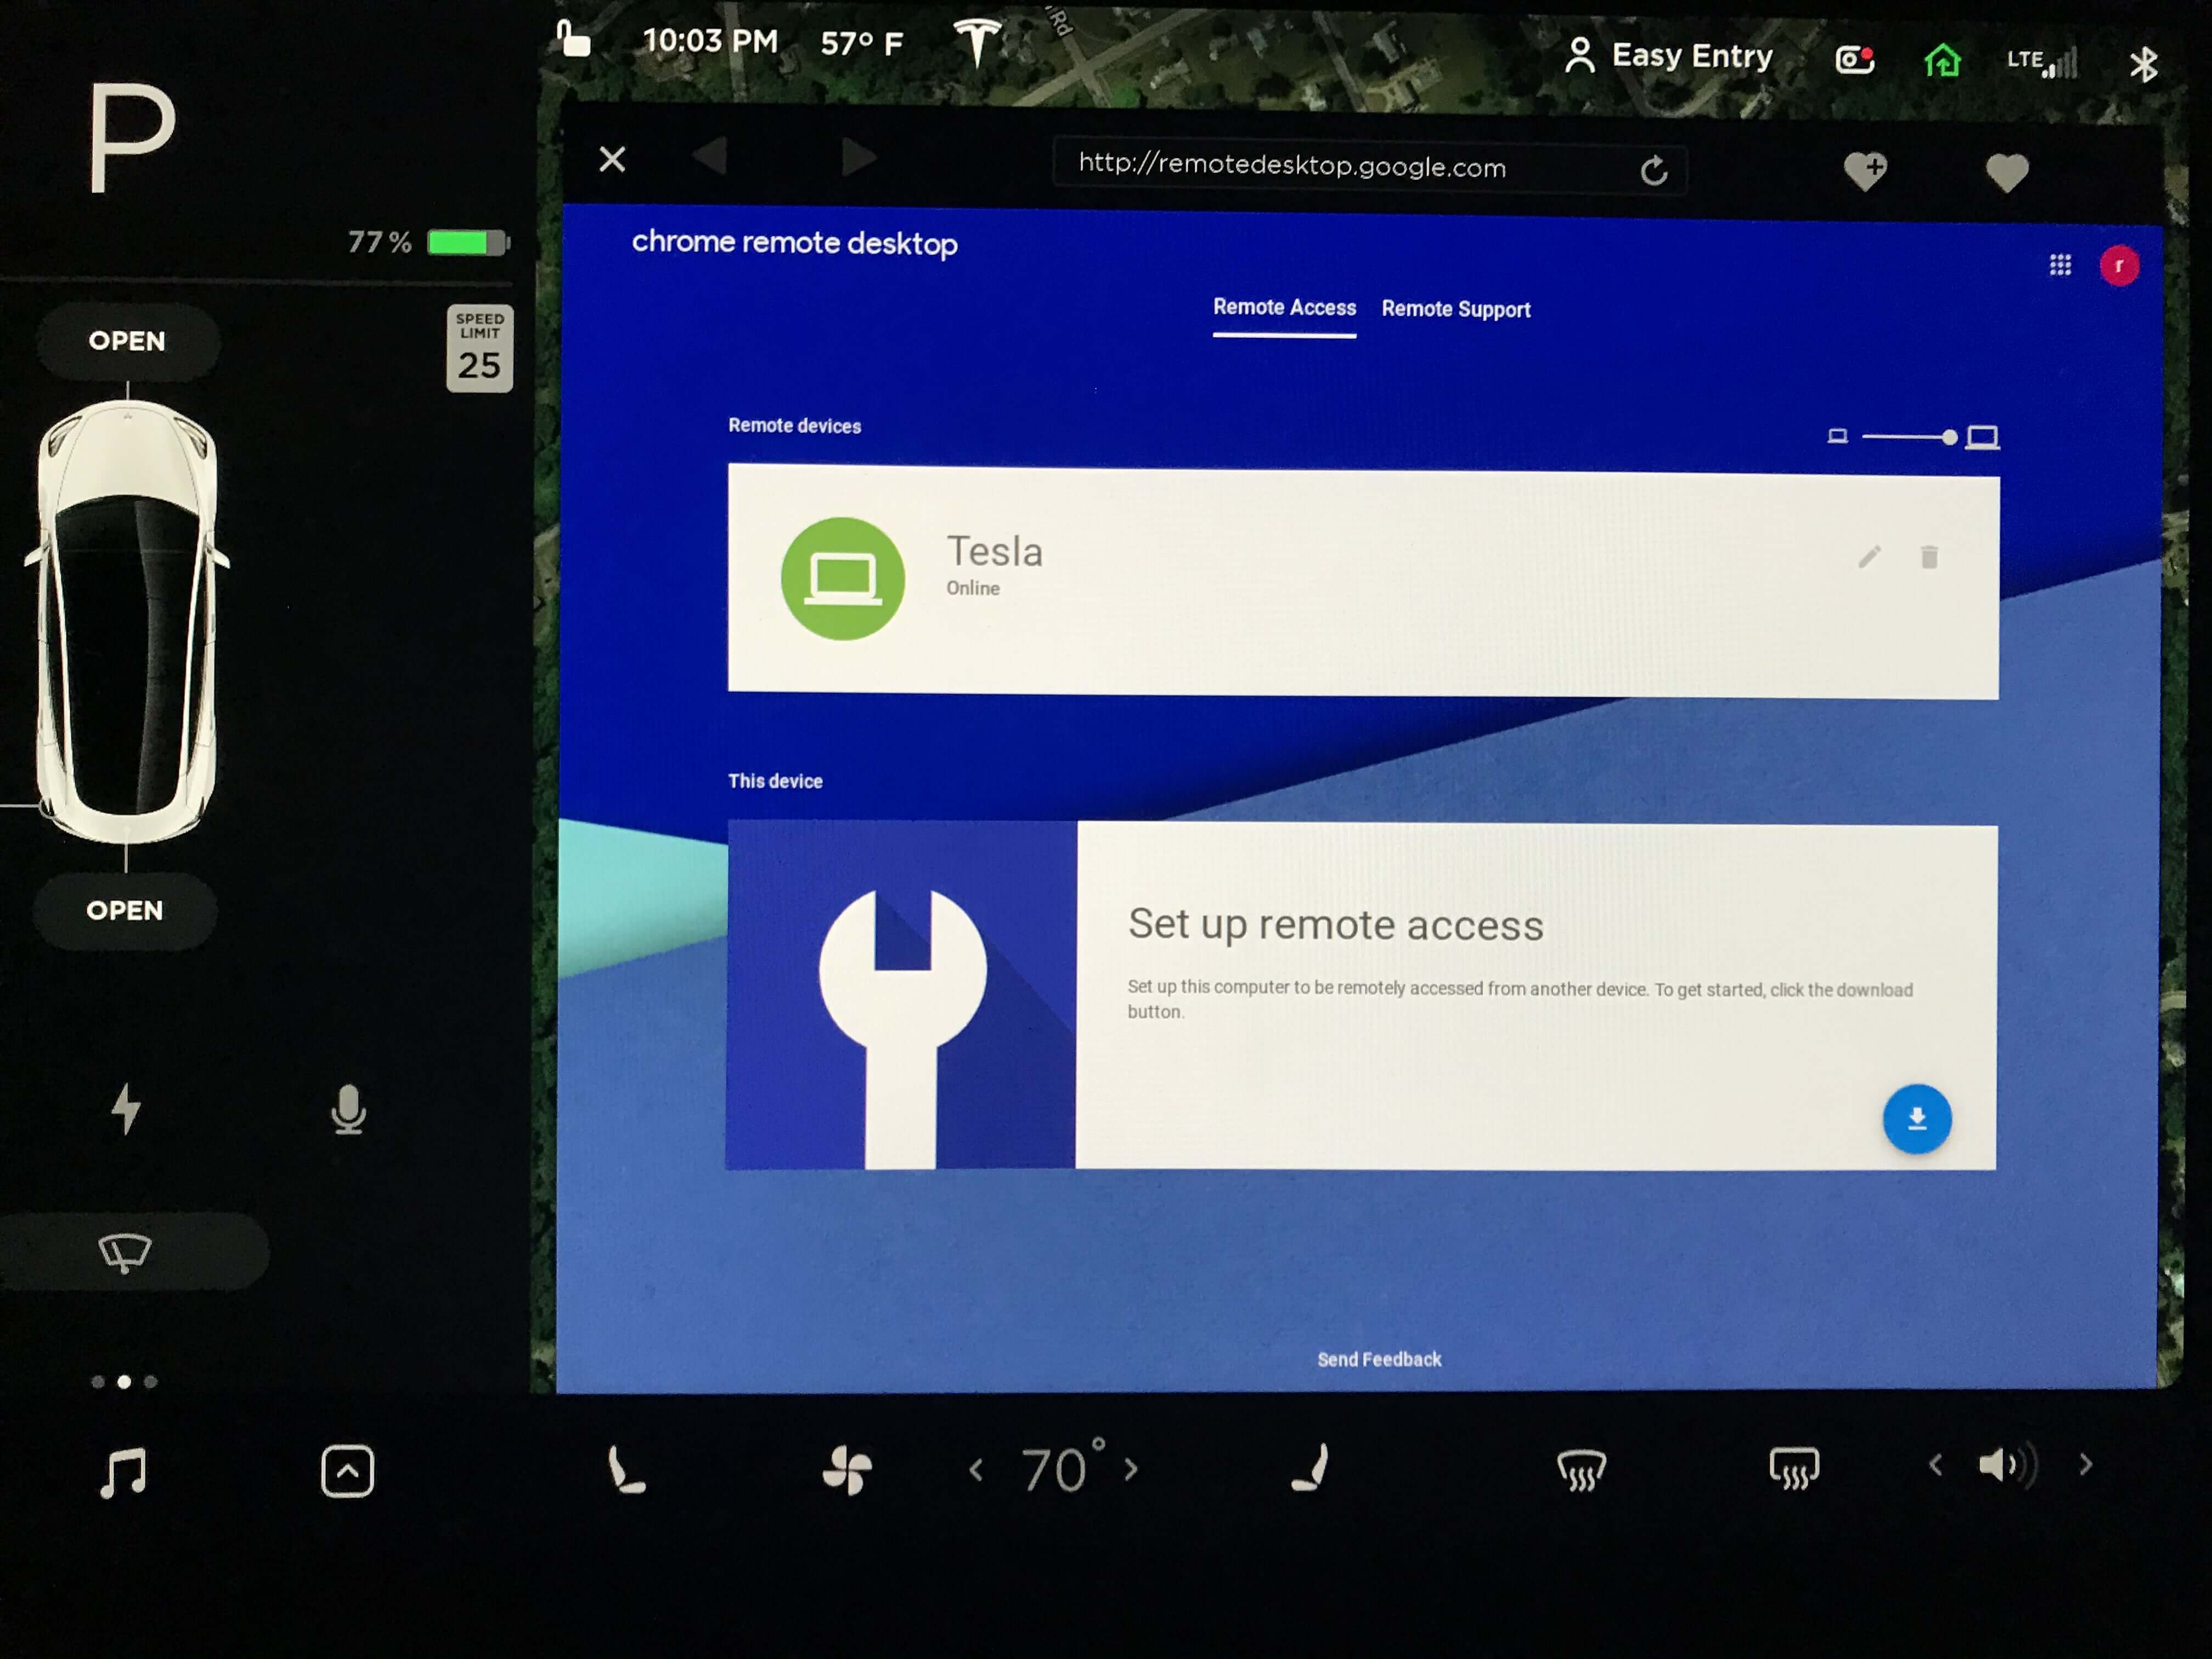
Connect to server by opening your browser and navigating to https://remotedesktop.google.com/access.  Bookmark this page by pressing the heart + icon.

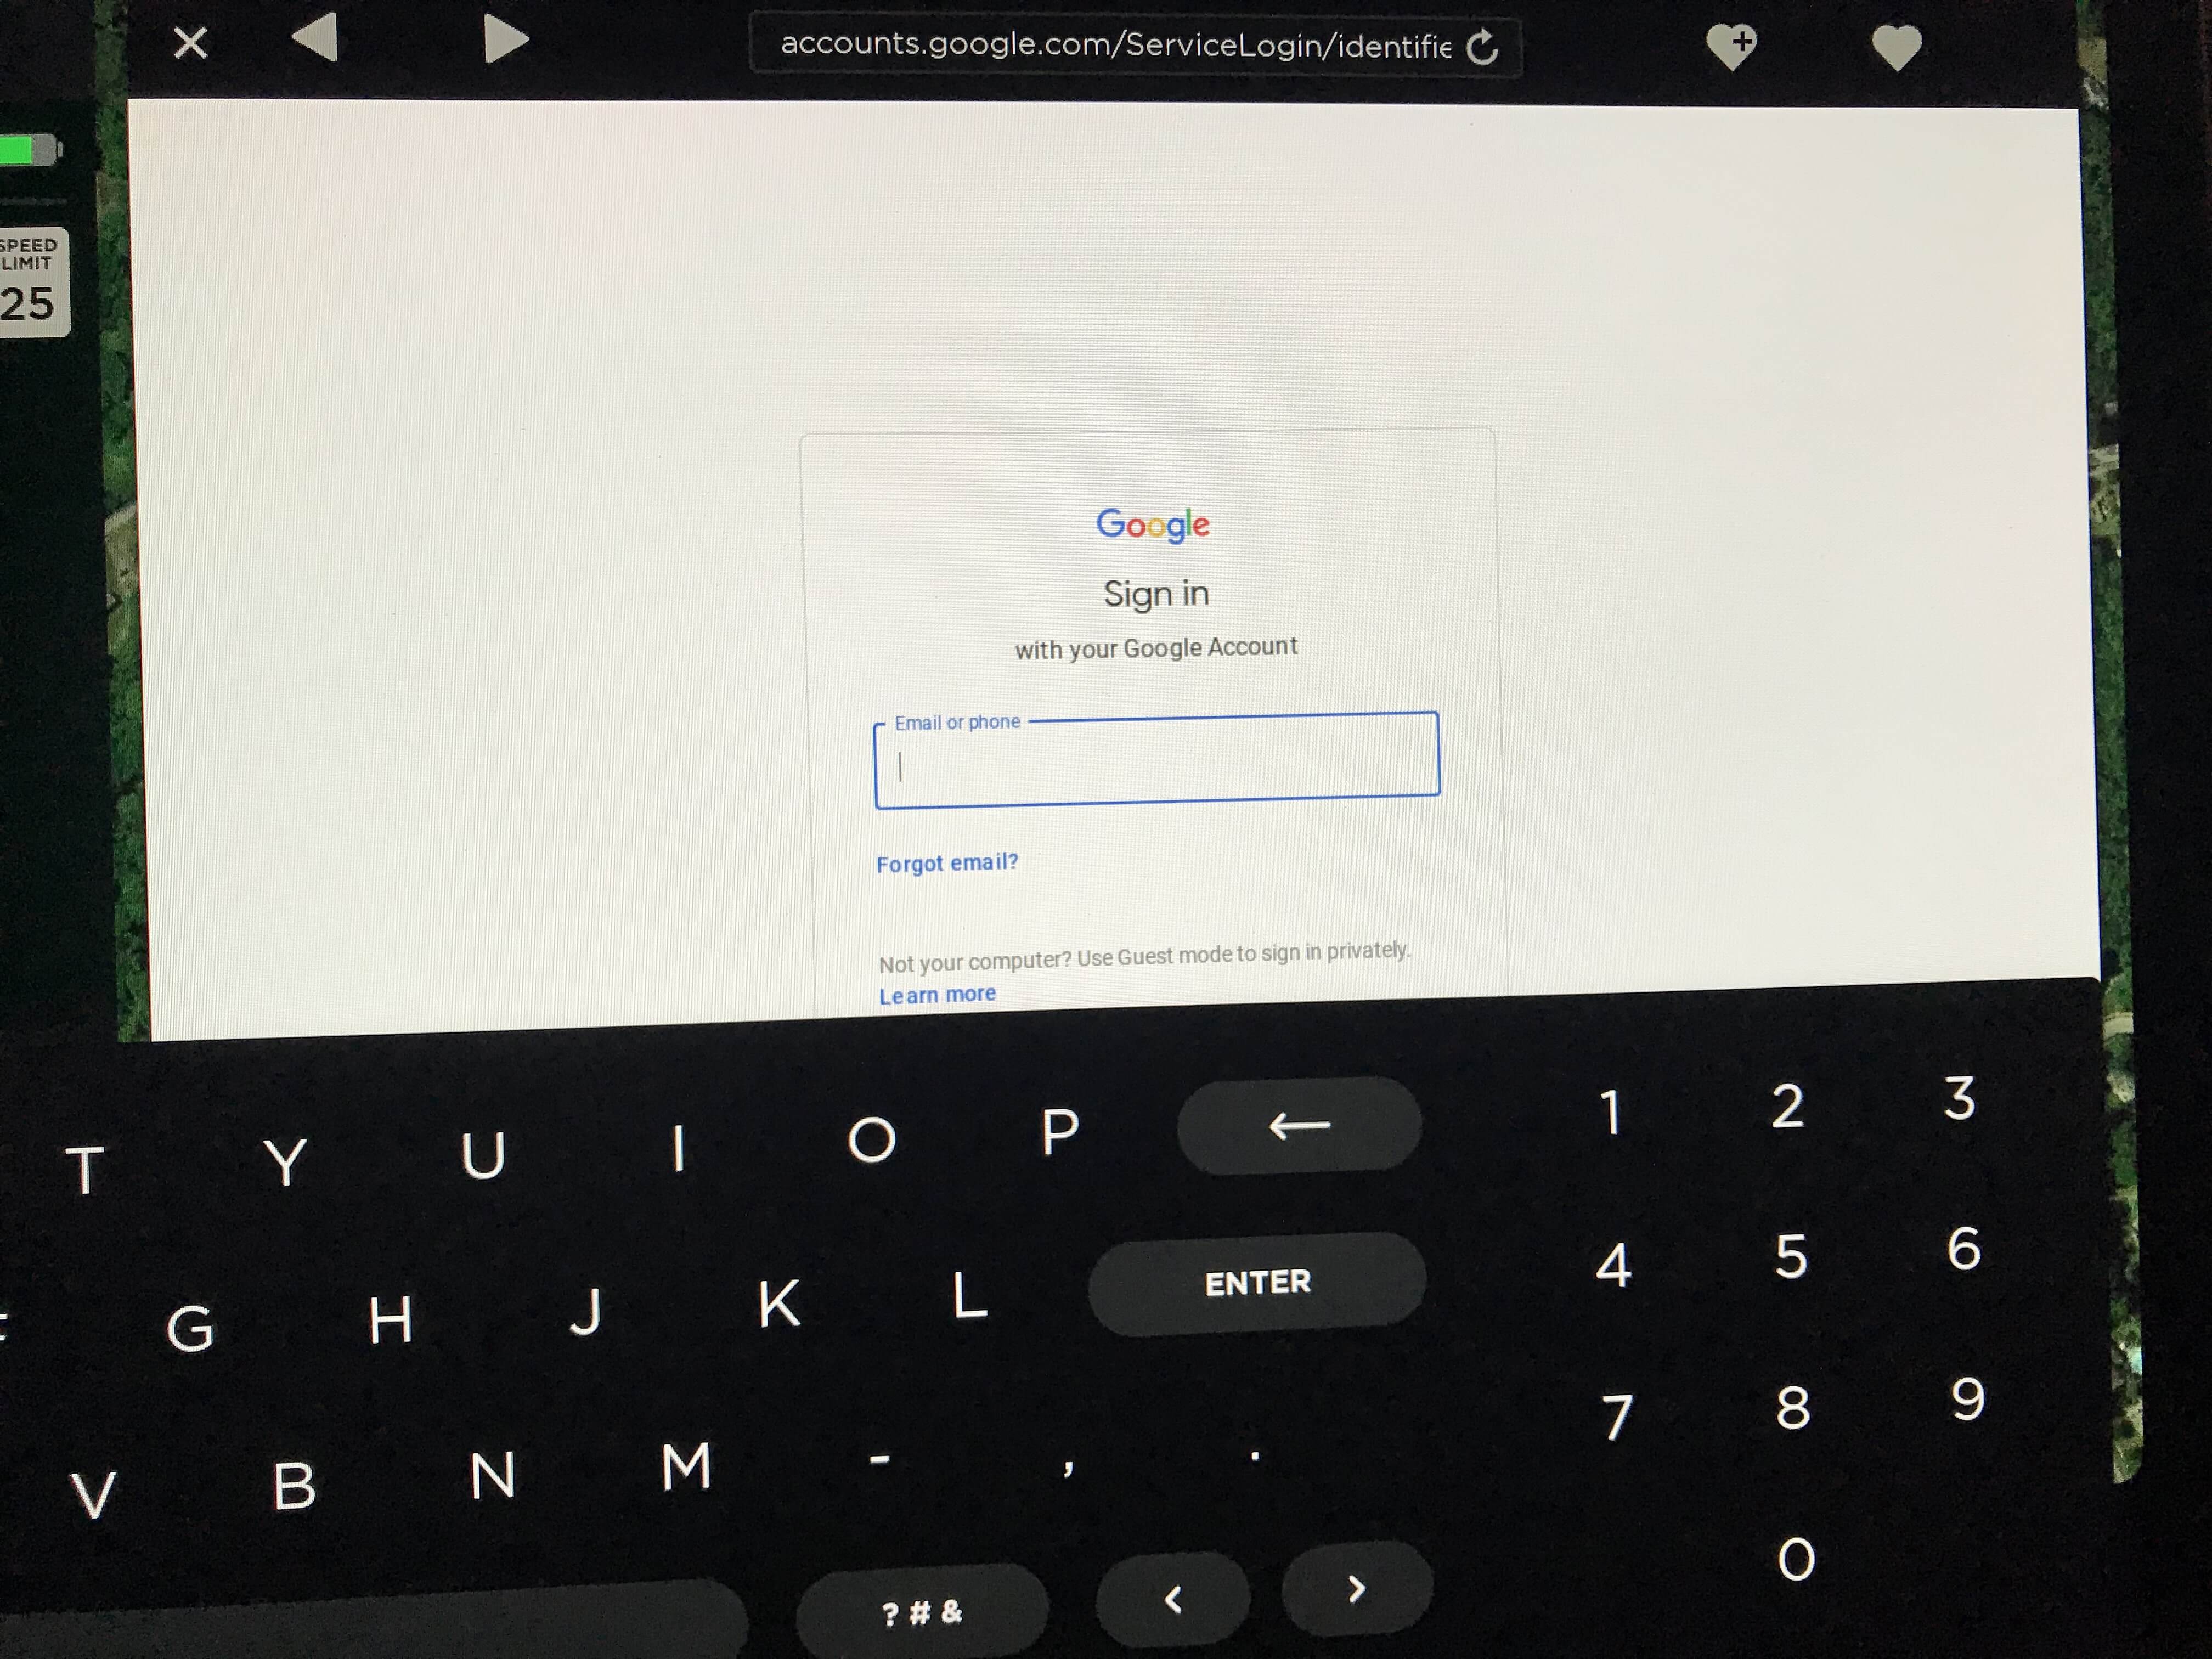
Sign in with your Google credentials

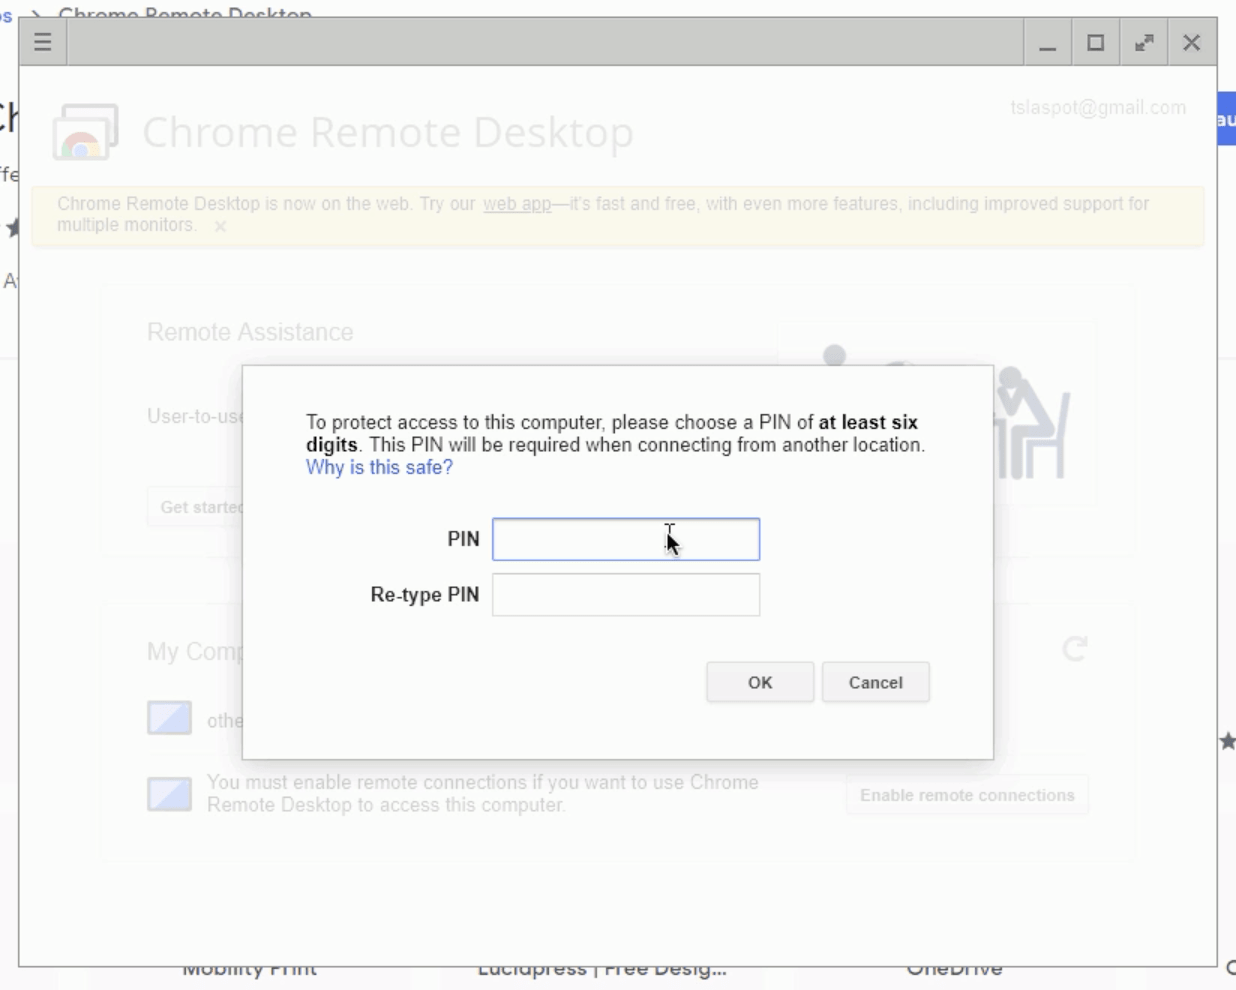
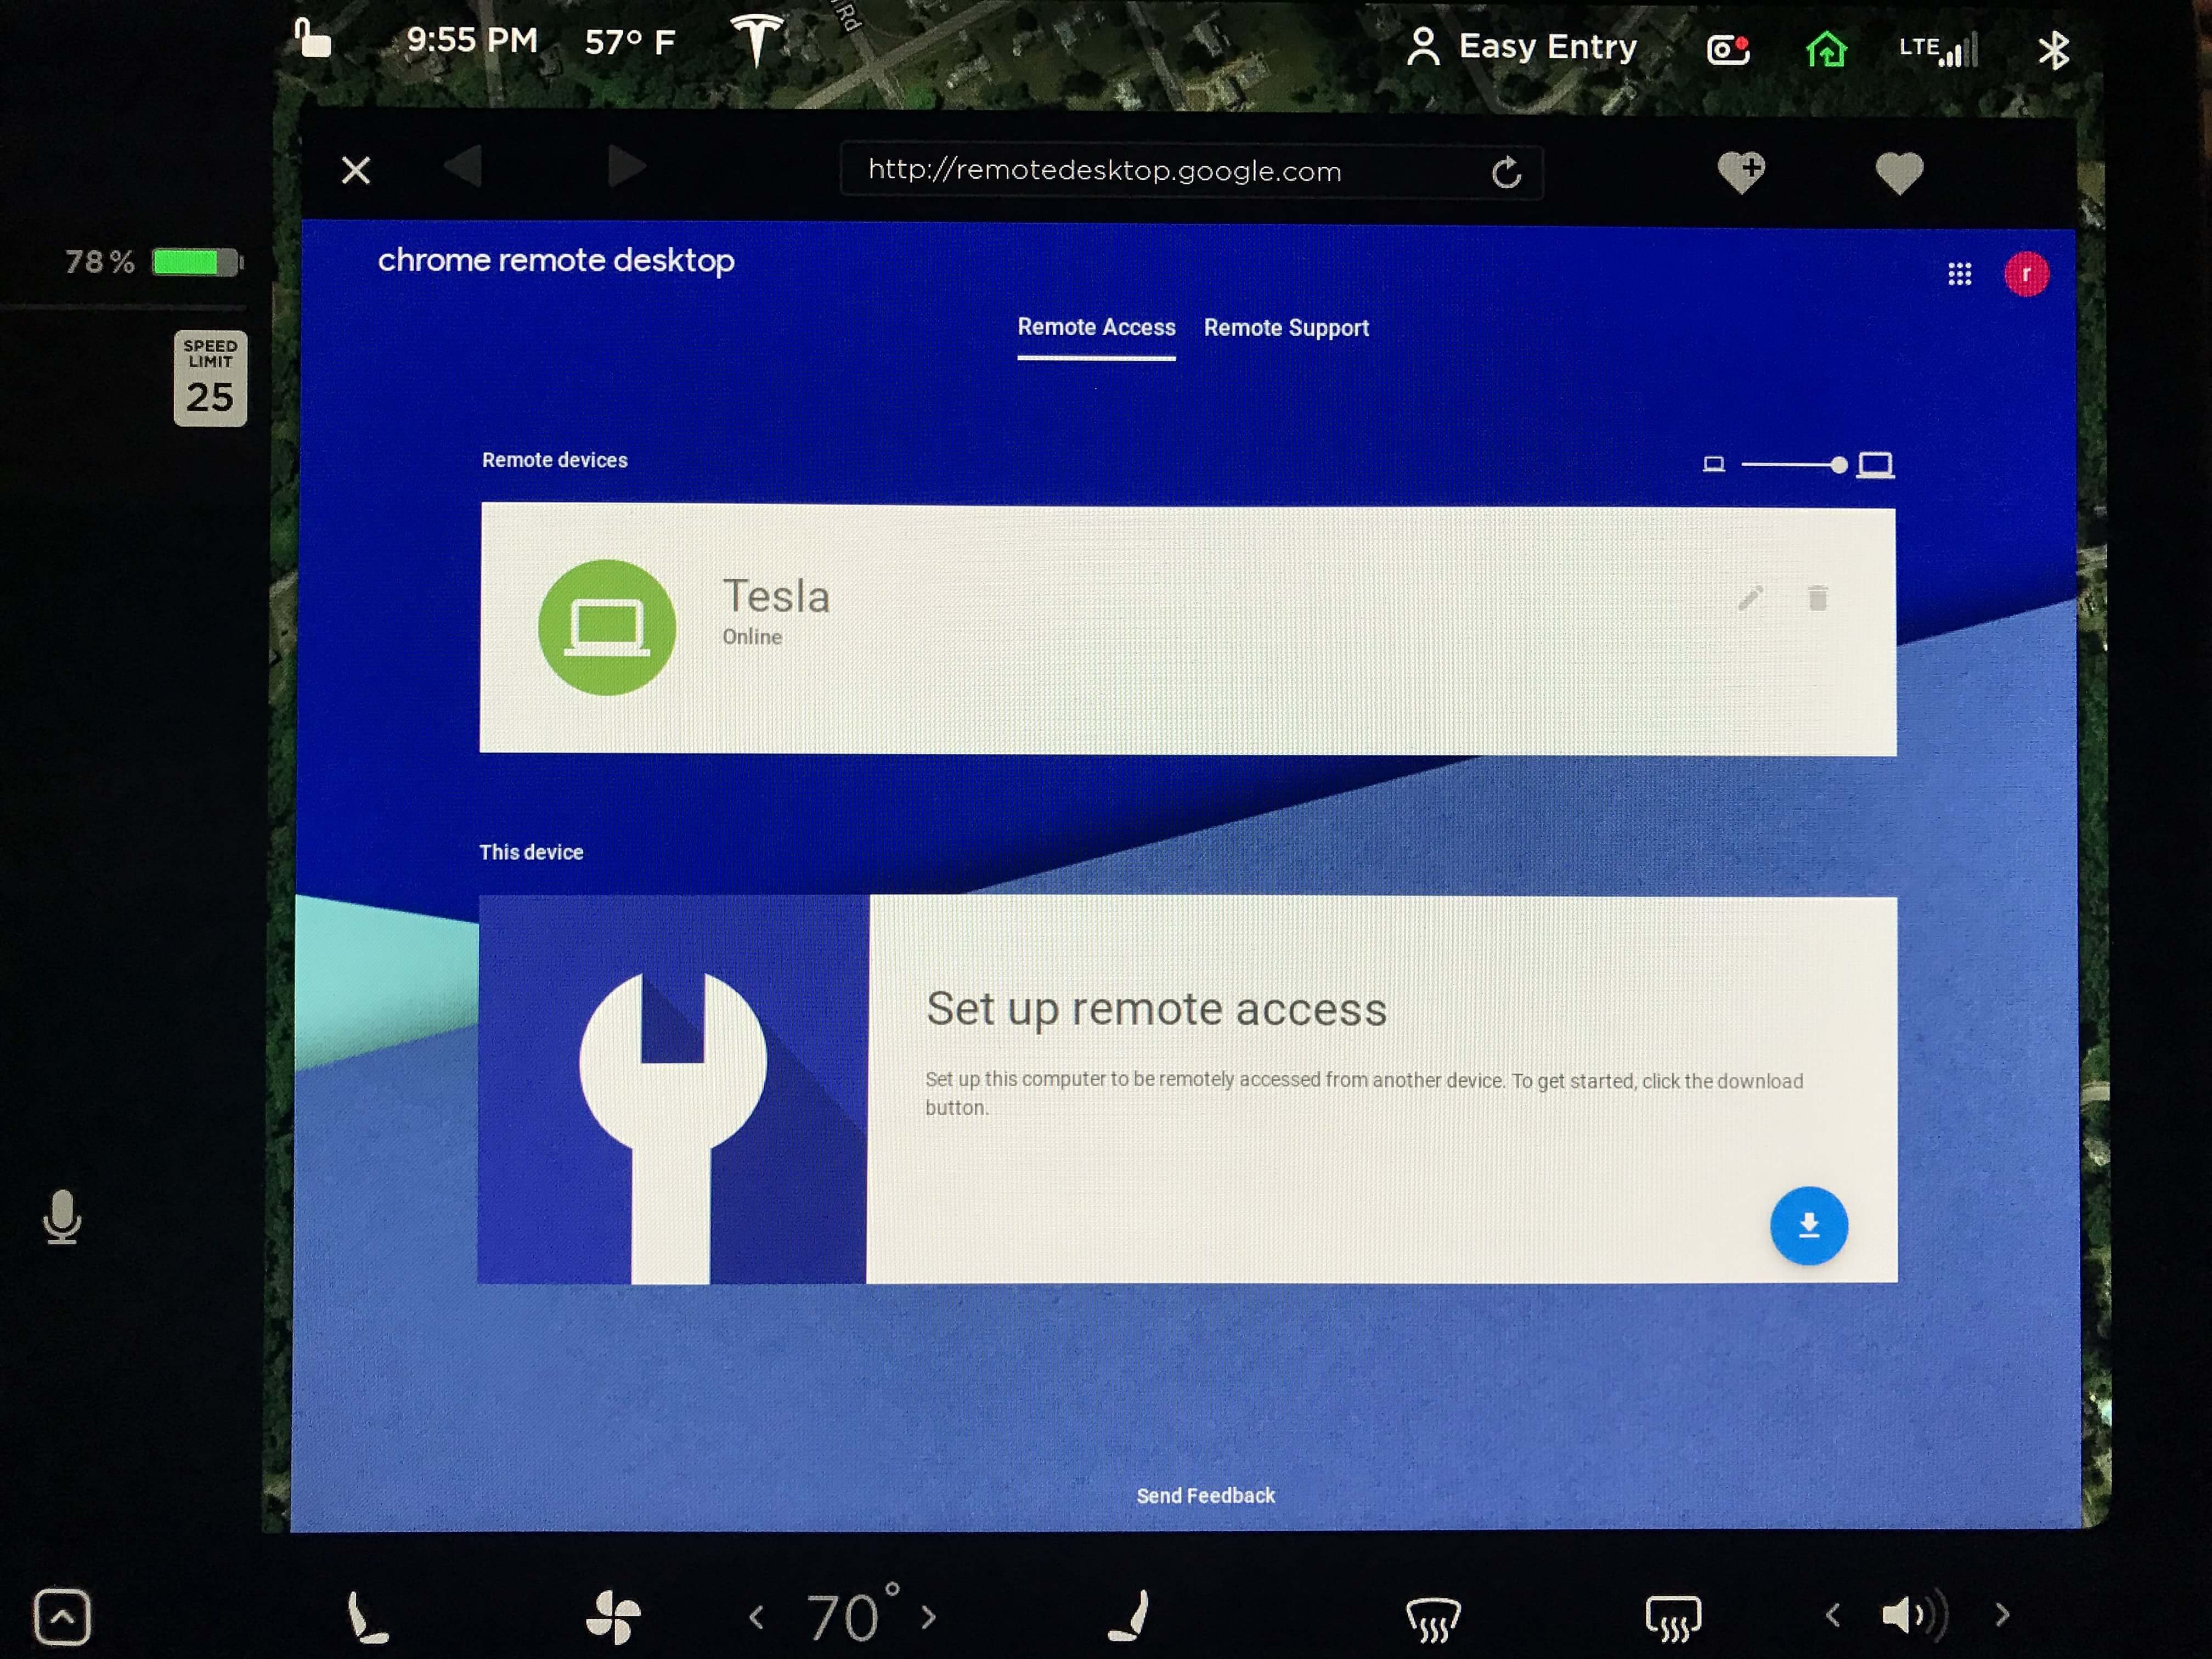
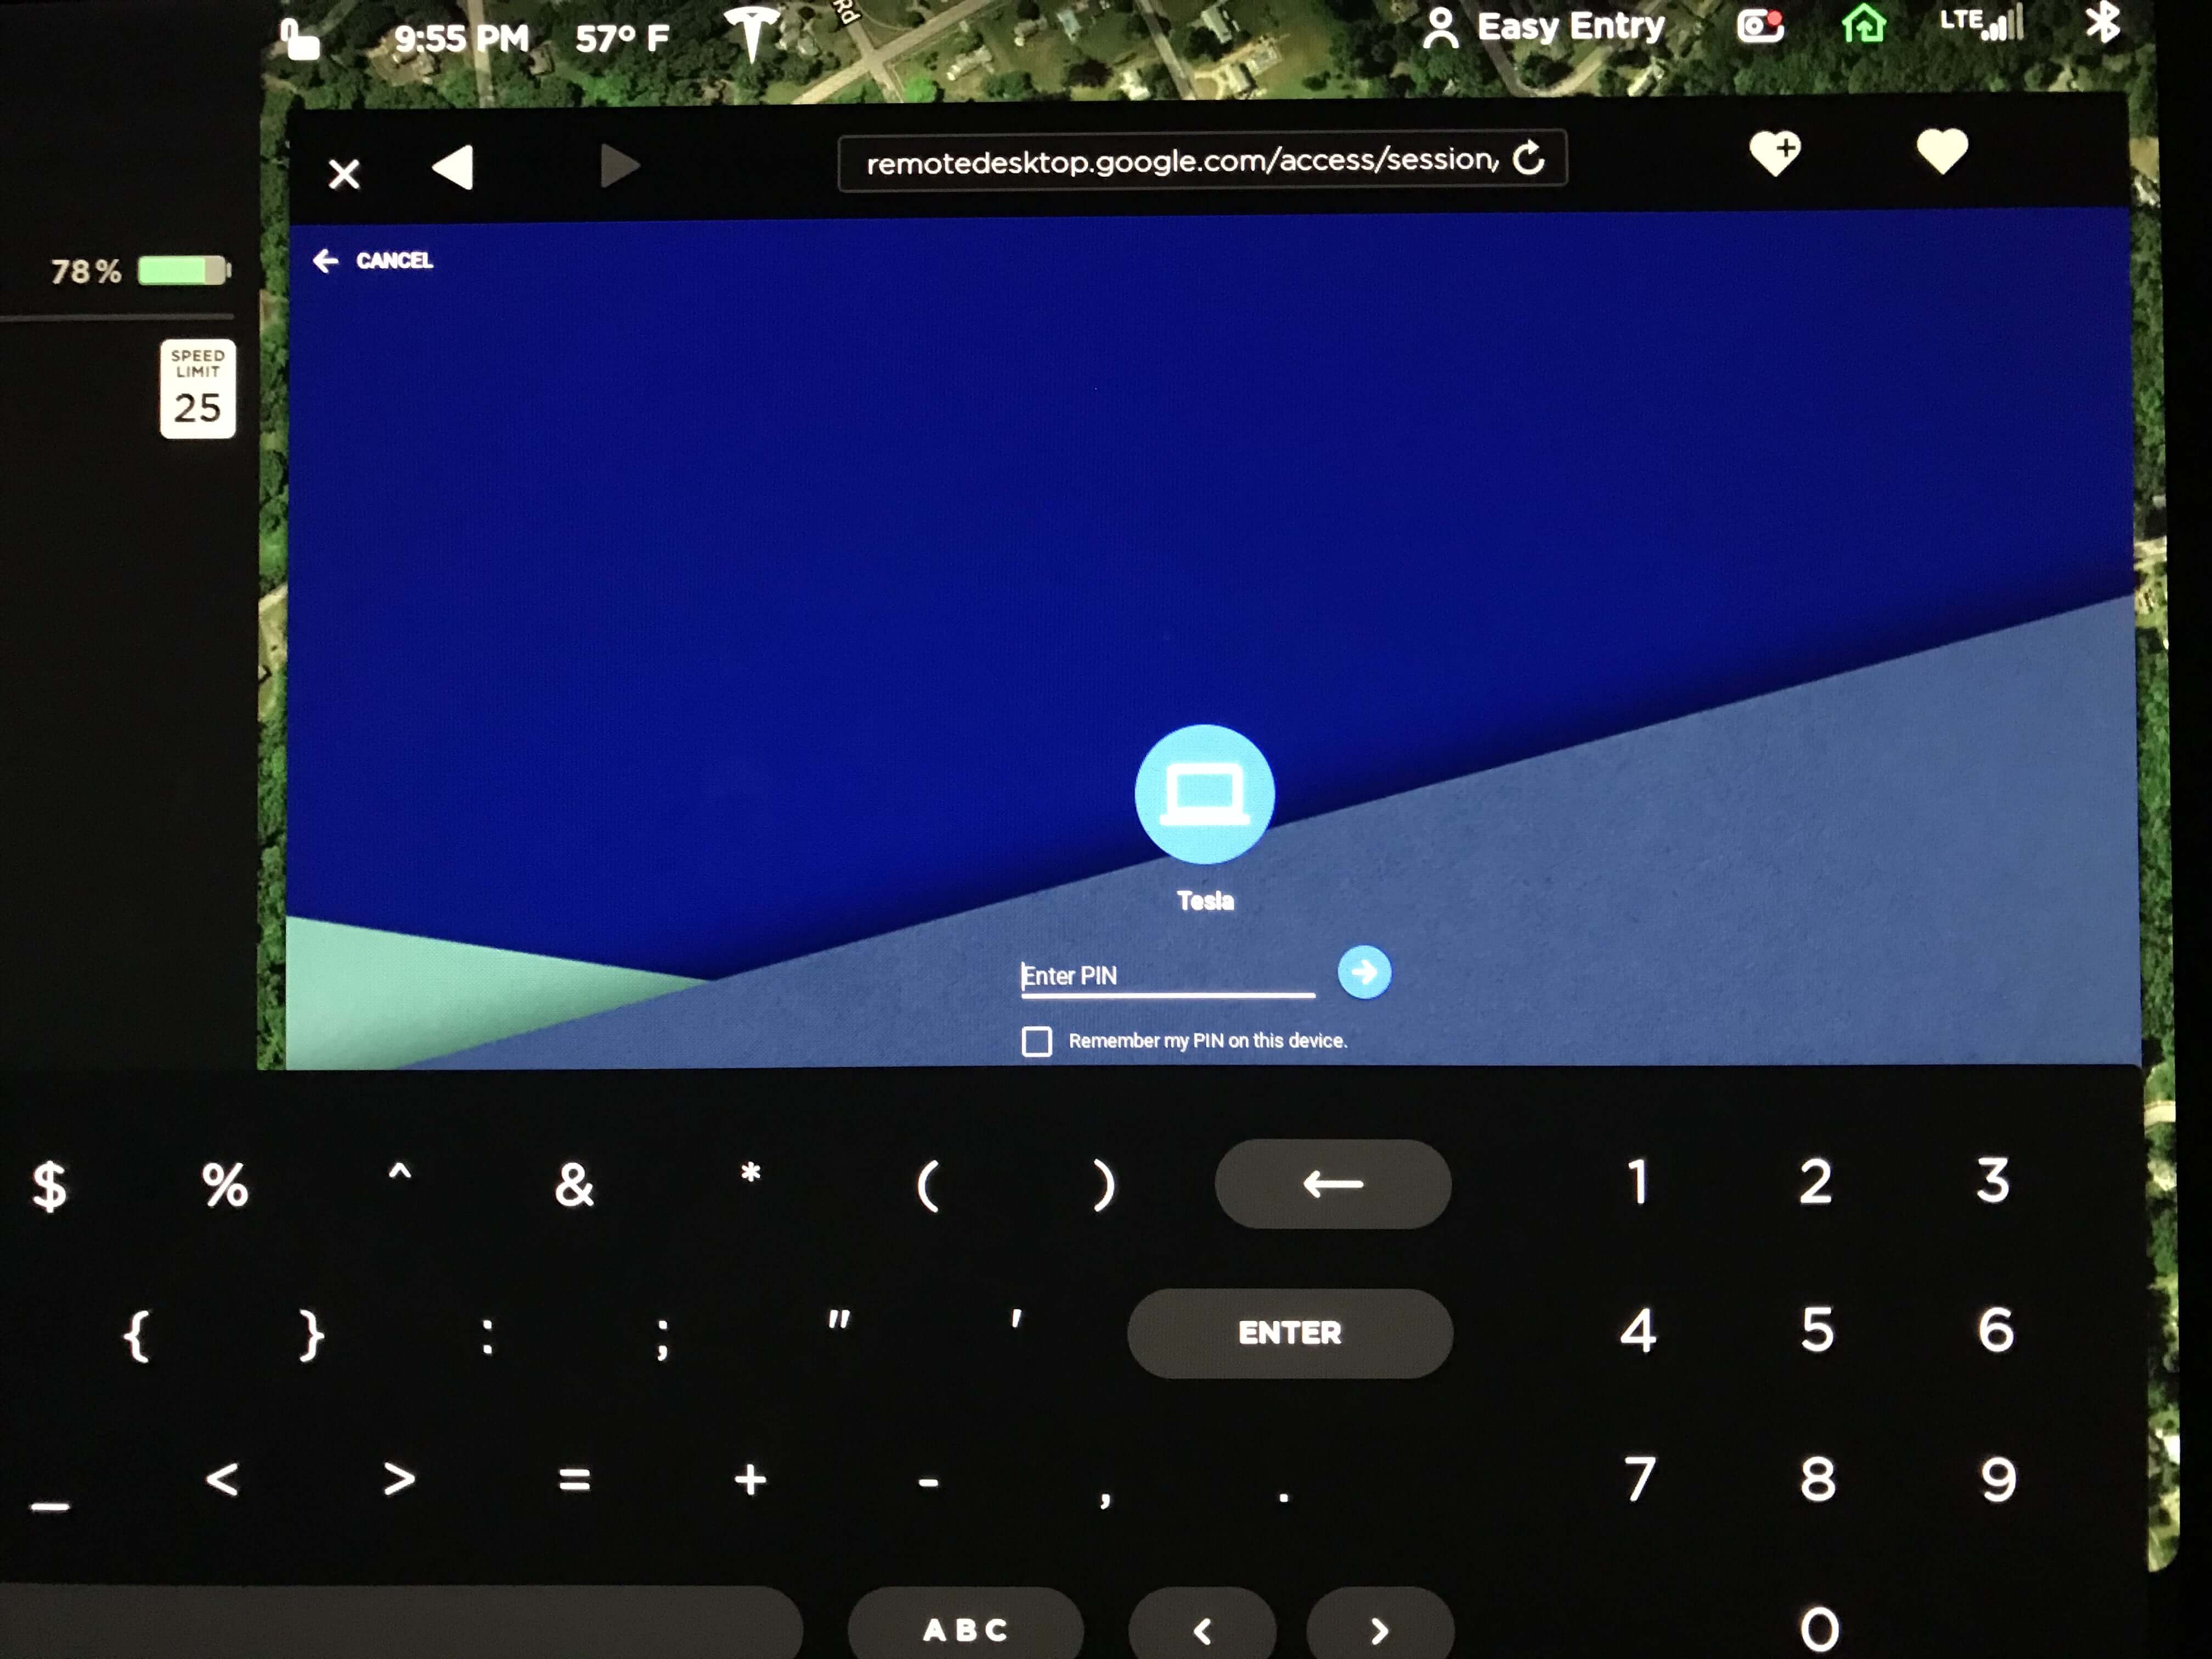
Click on the Server to connect and enter the PIN you set up earlier (also tick the box to save the PIN).

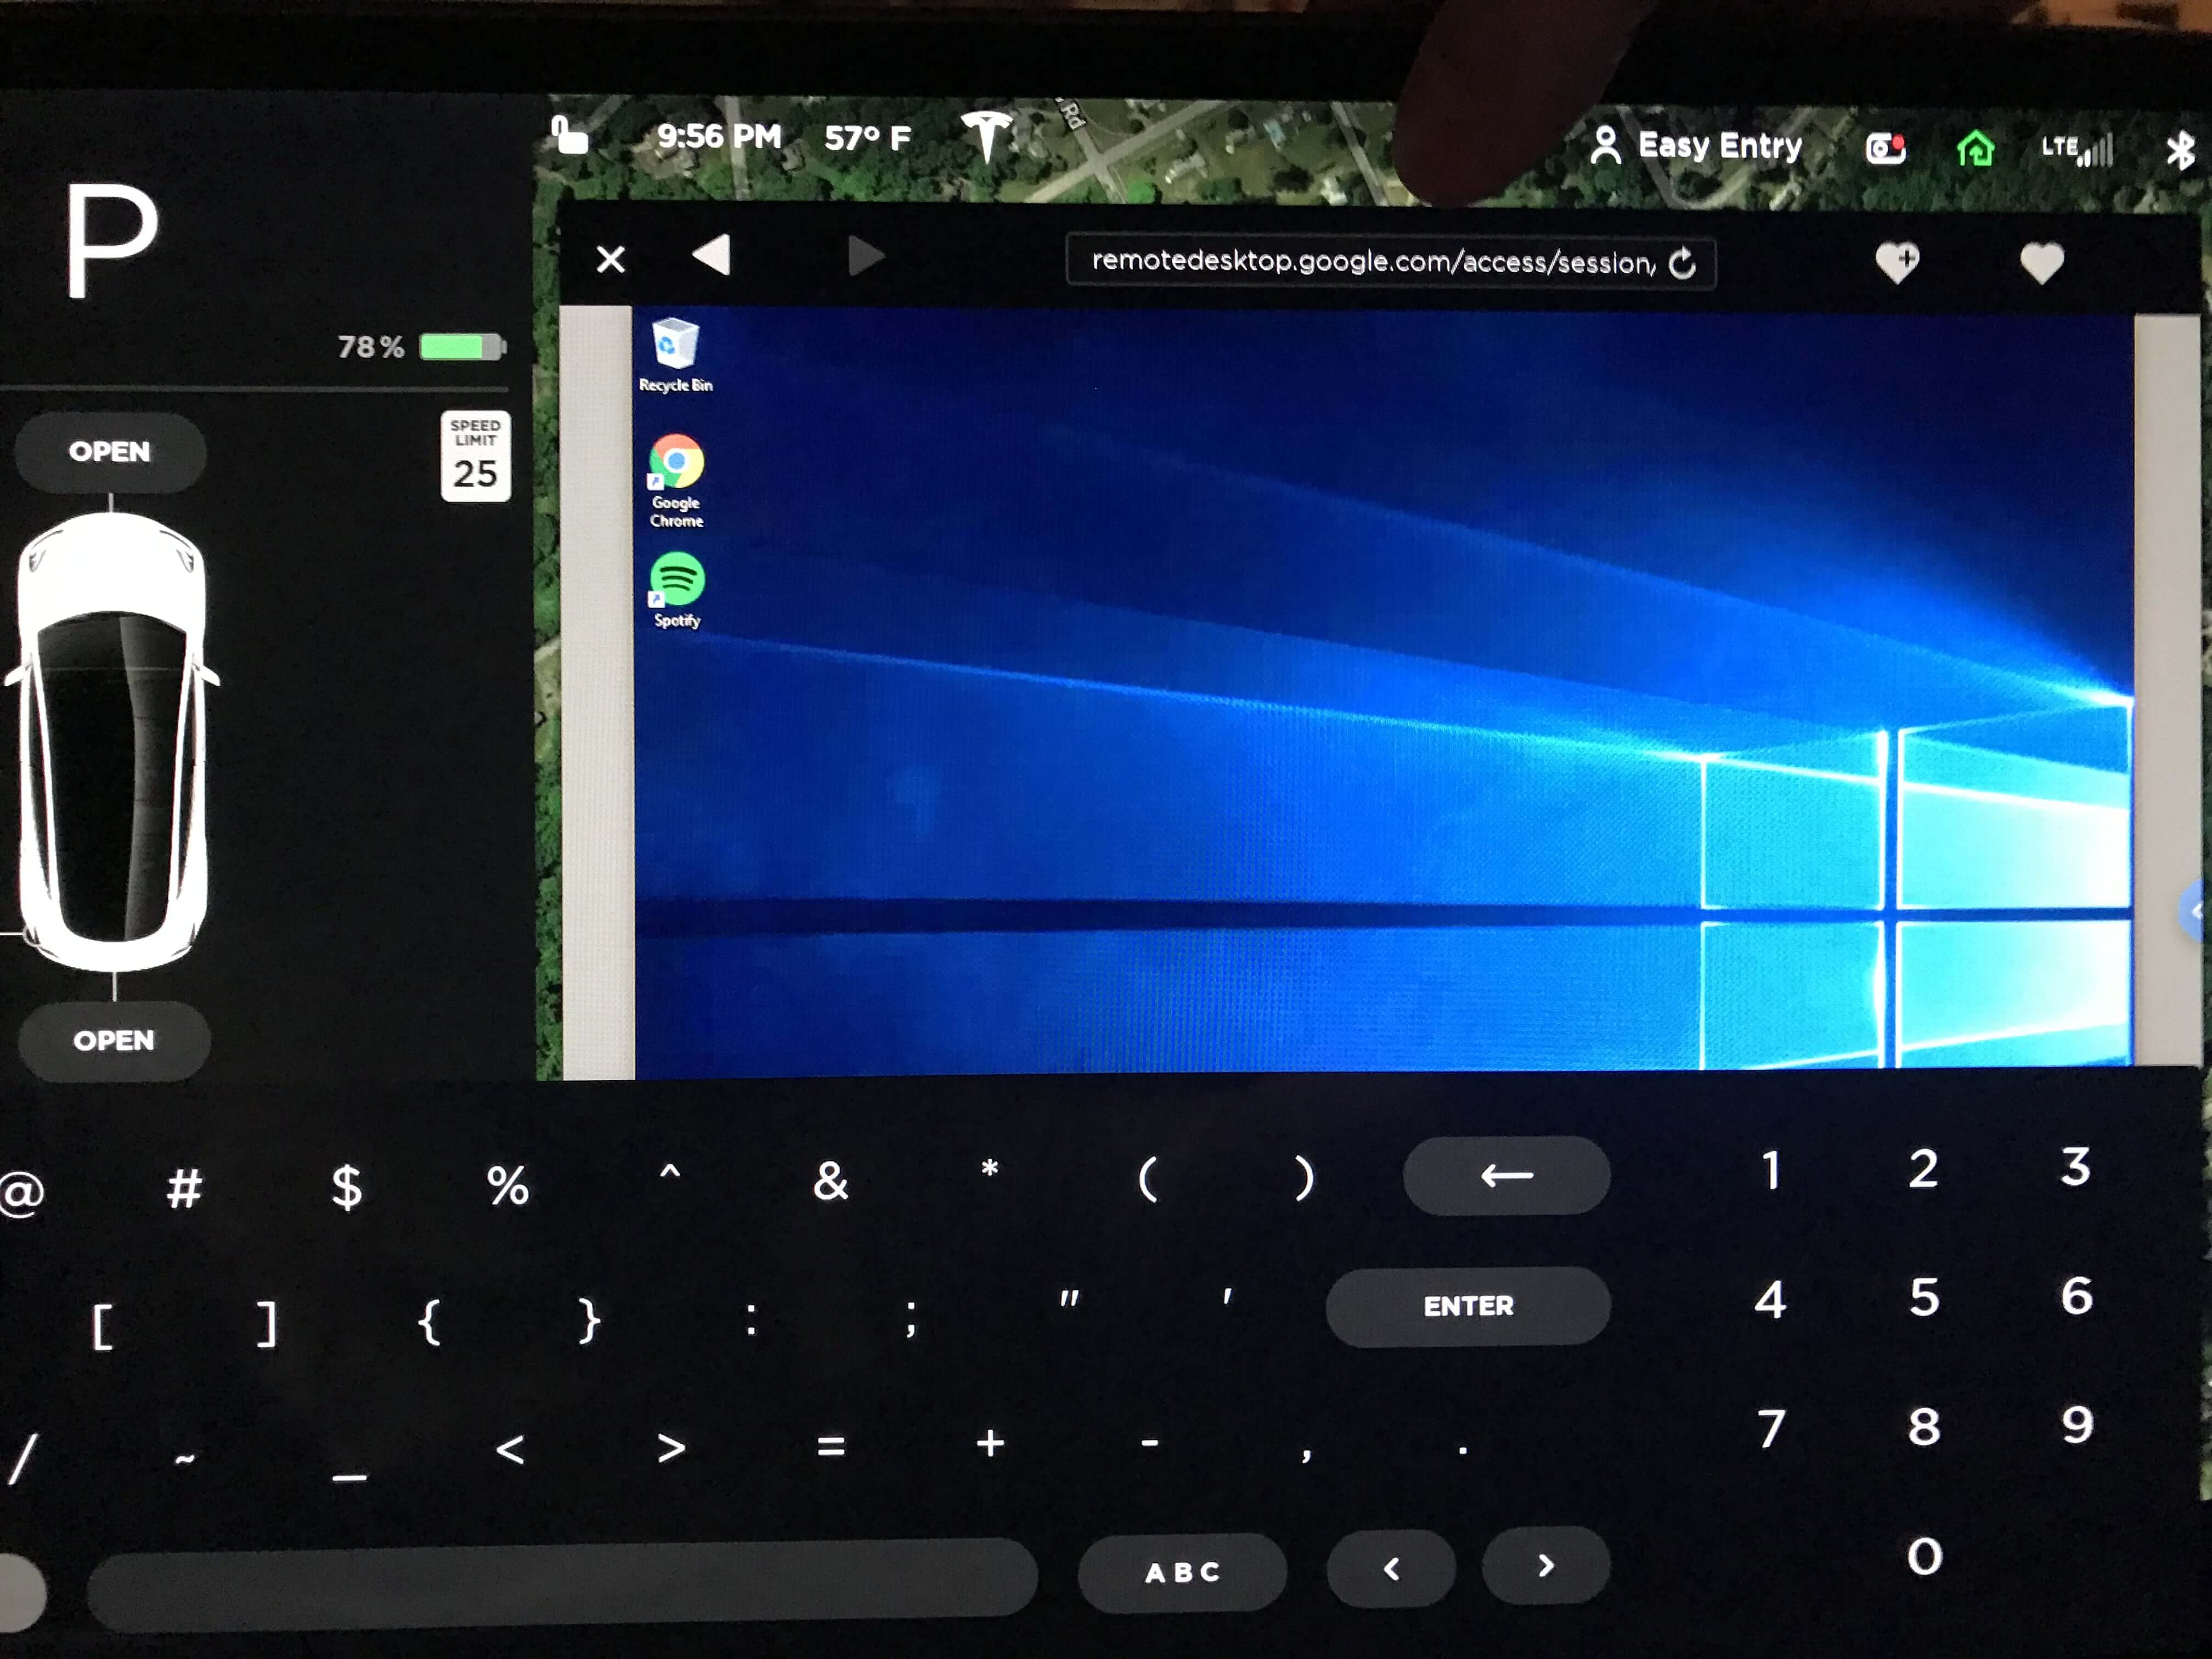
If the giant Tesla keyboard sticks around, click on the background of your screen.  You can see my finger touching the map at the top of the screen which causes the Tesla keyboard to hide.  We will not be using the Tesla keyboard to enter any text in our server.

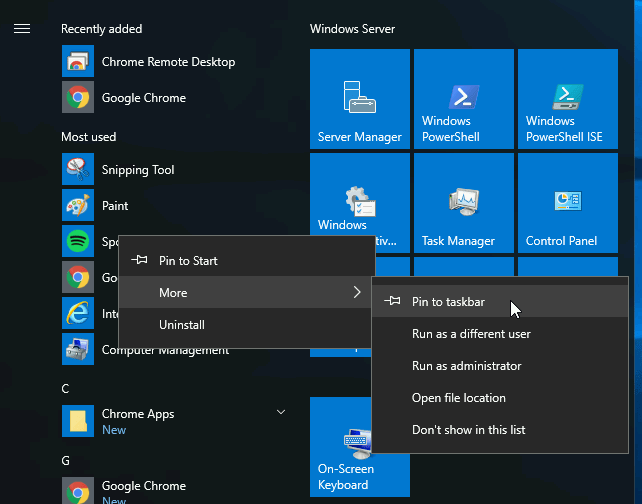
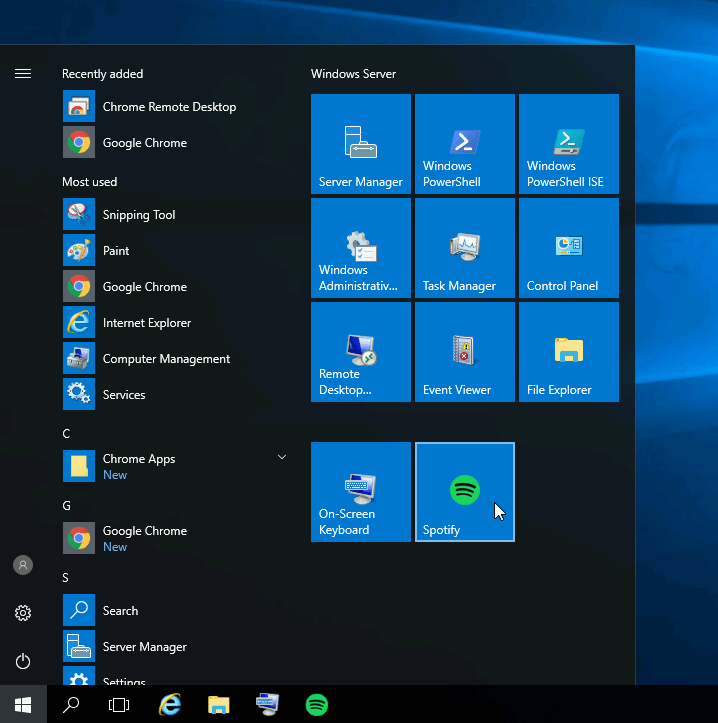
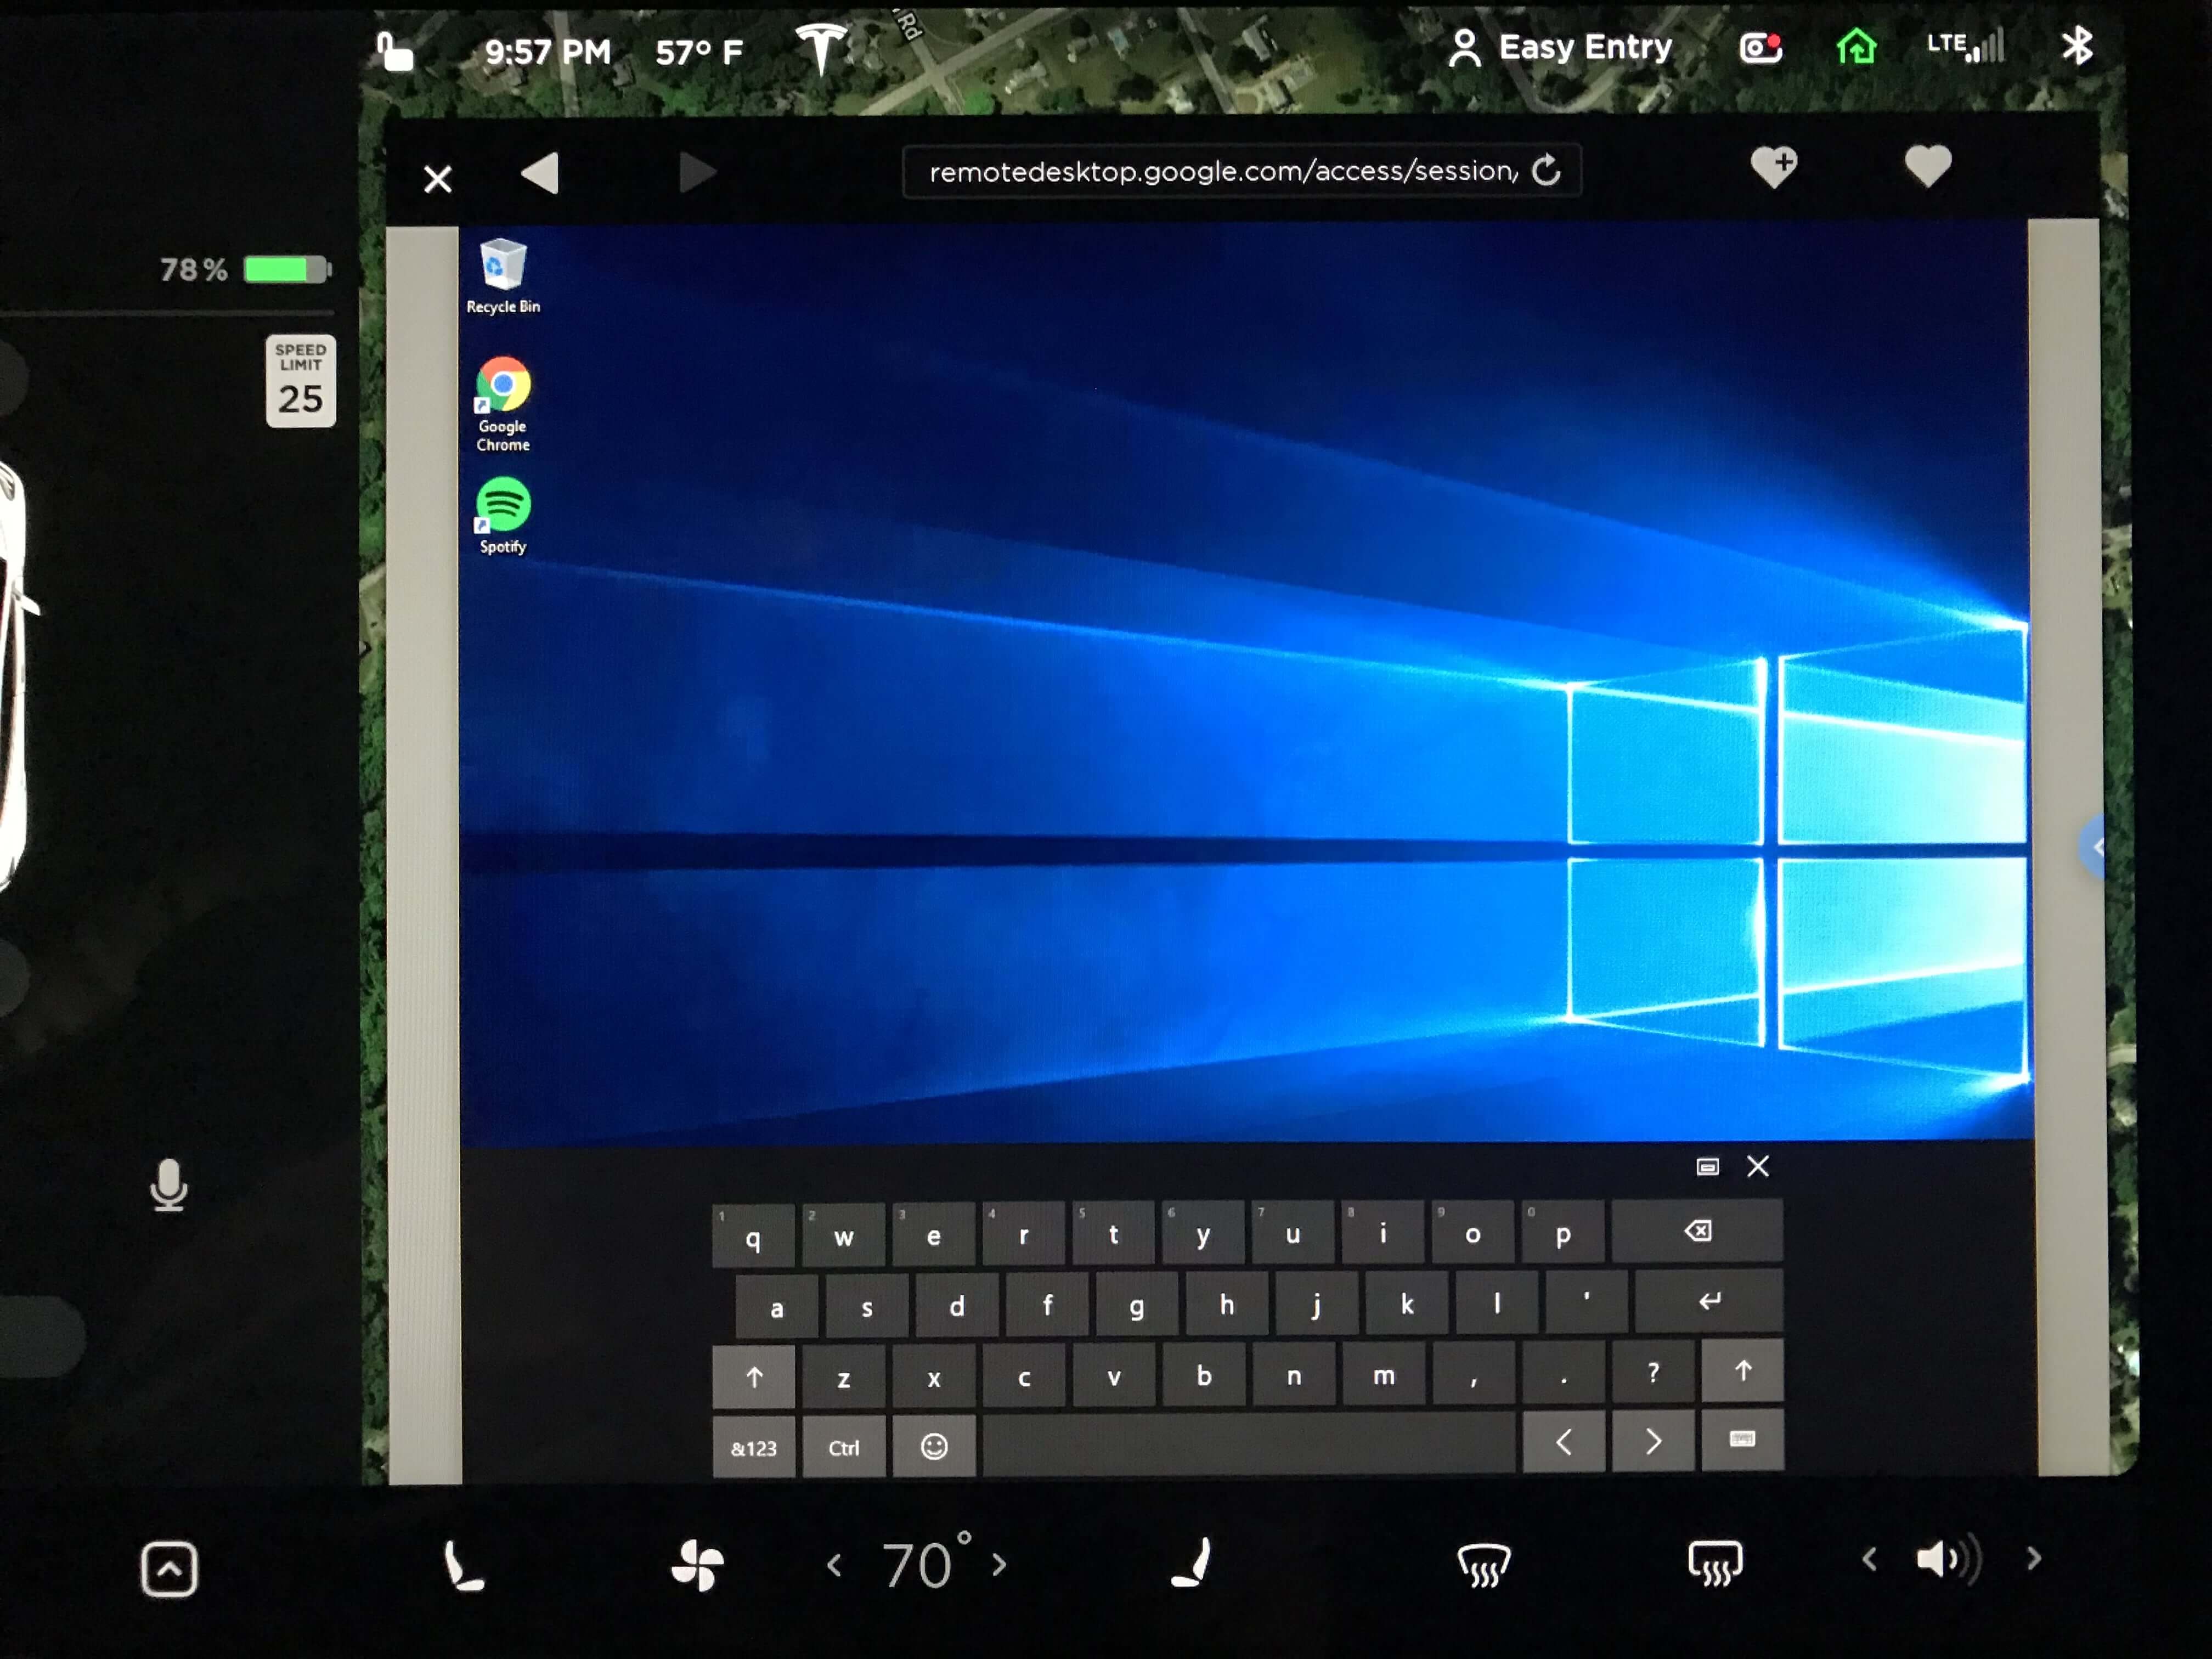
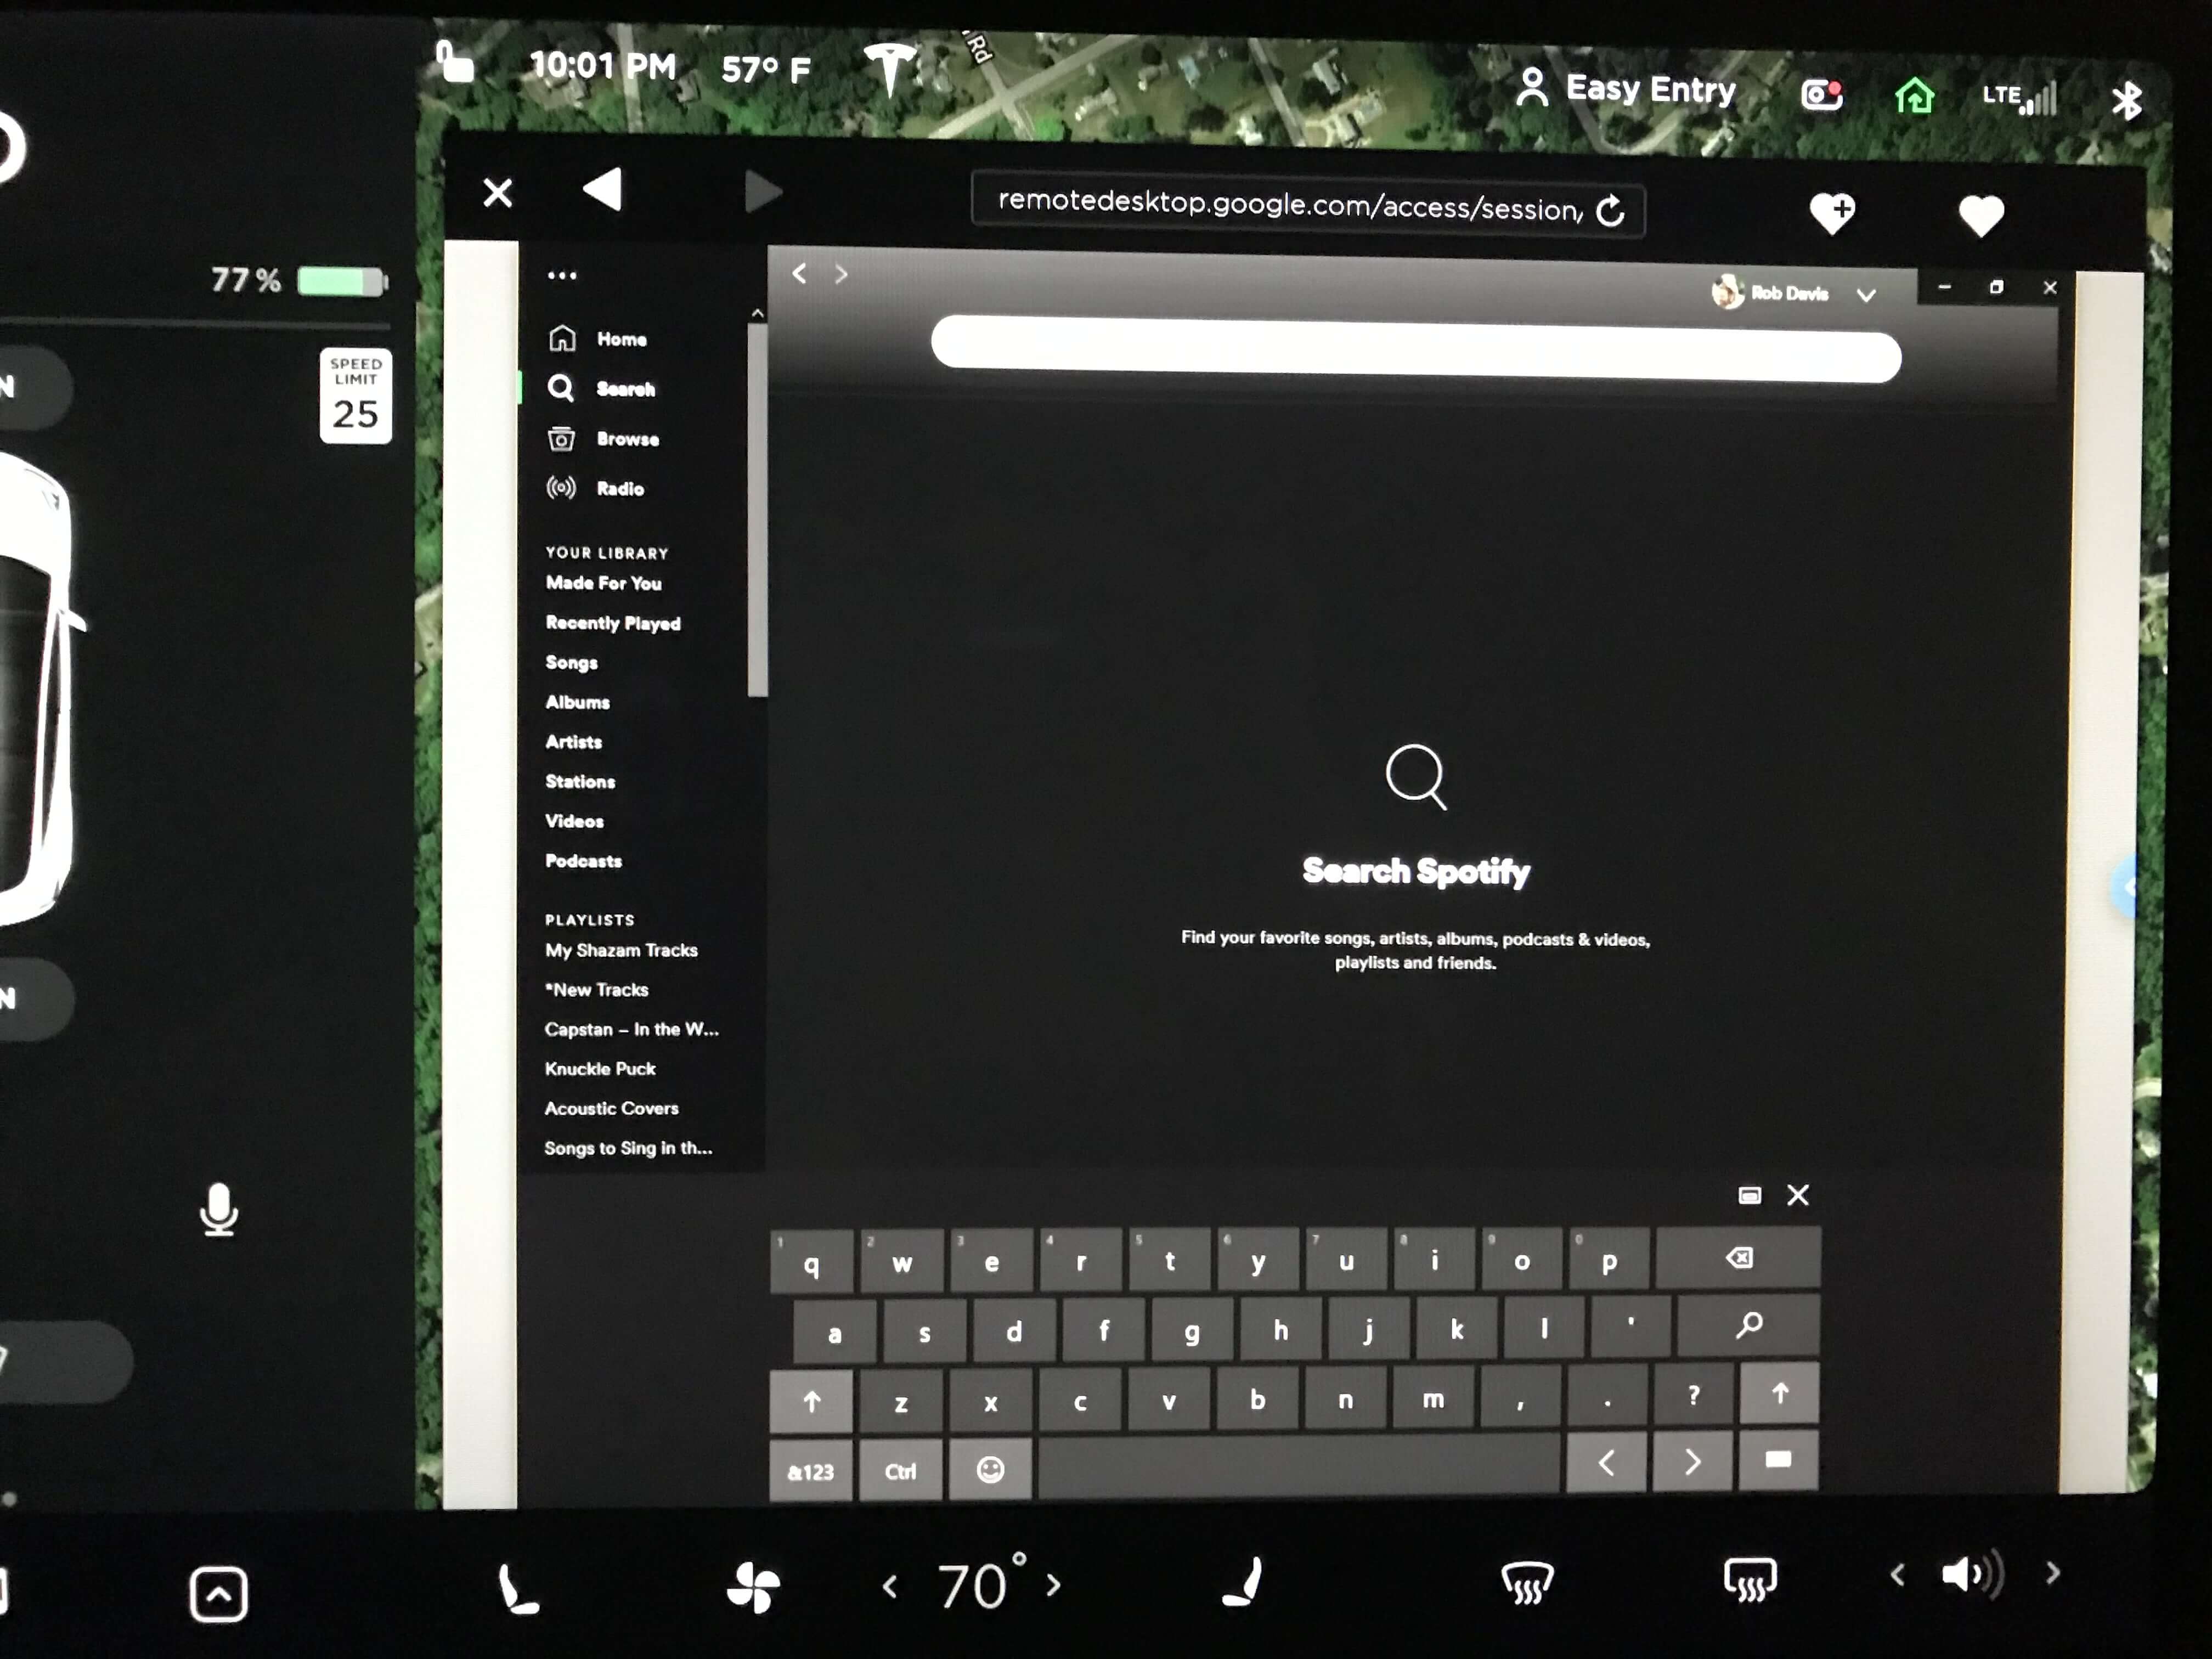
Instead, use the On-Screen Keyboard which can be enabled by either launching the On-Screen Keyboard app (pinned earlier) or by pressing the tiny keyboard icon that will appear right next to your system clock in the bottom right of your screen.  To close the keyboard press the small x at the top right.

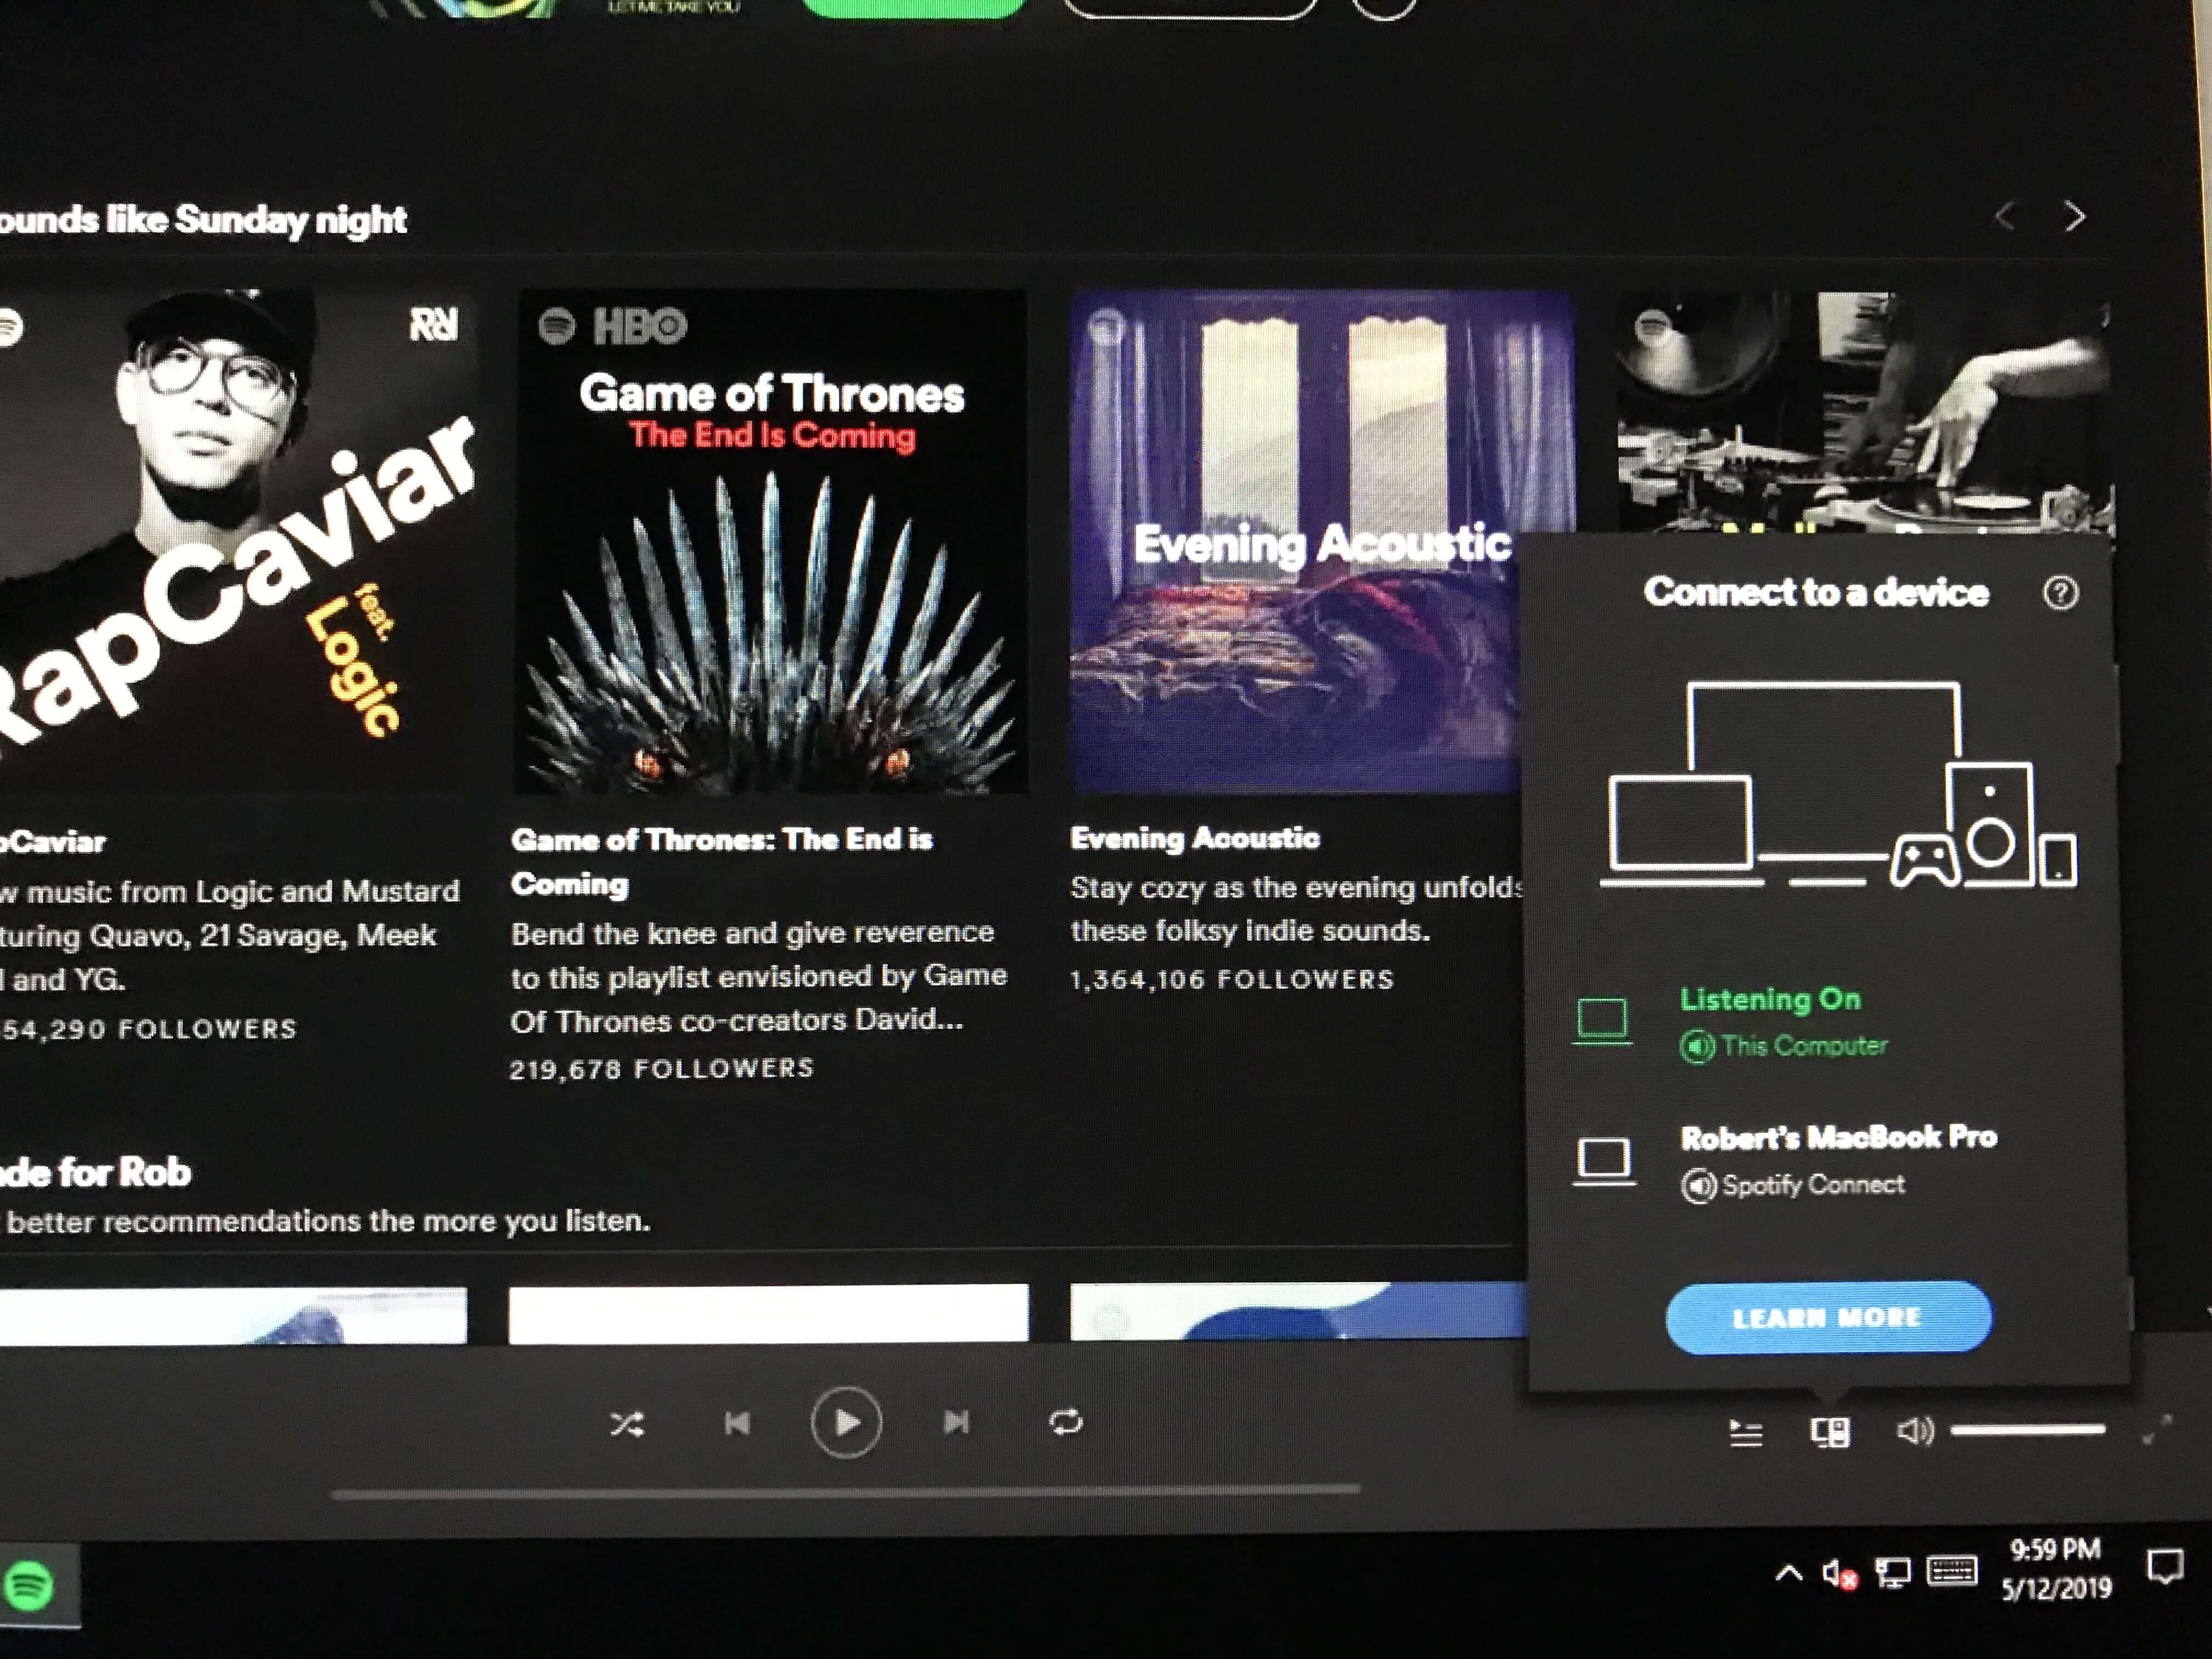
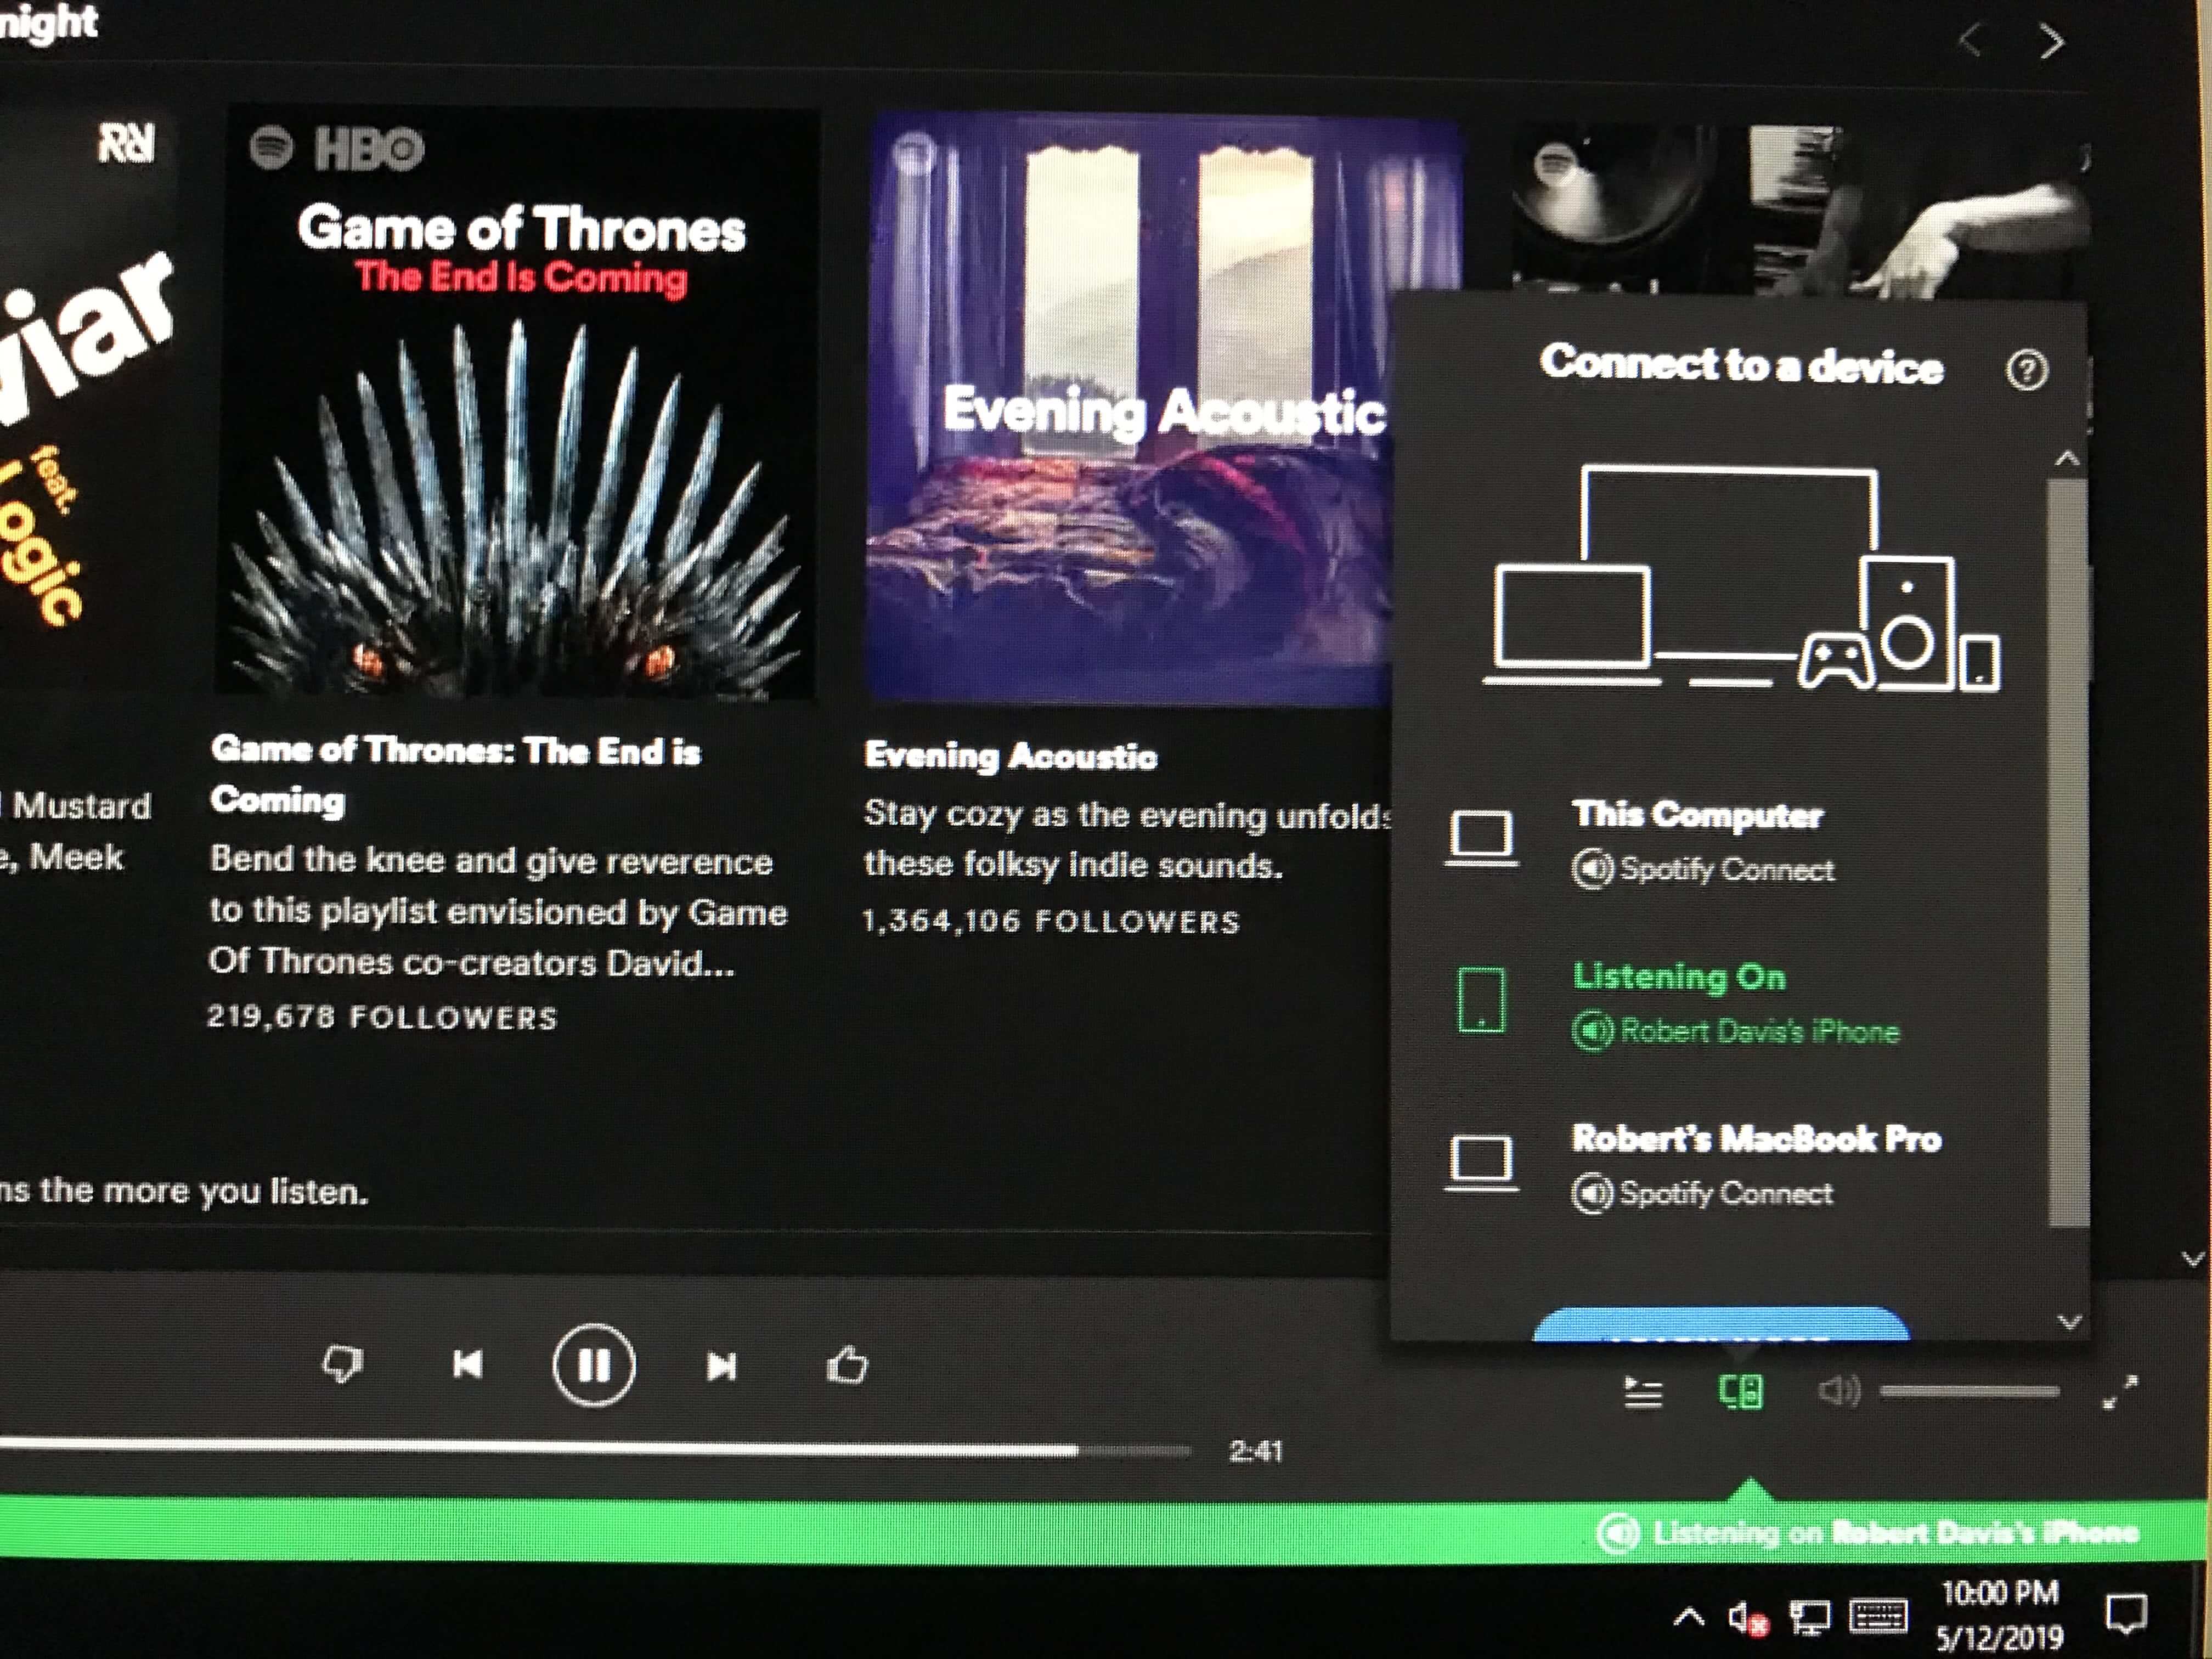
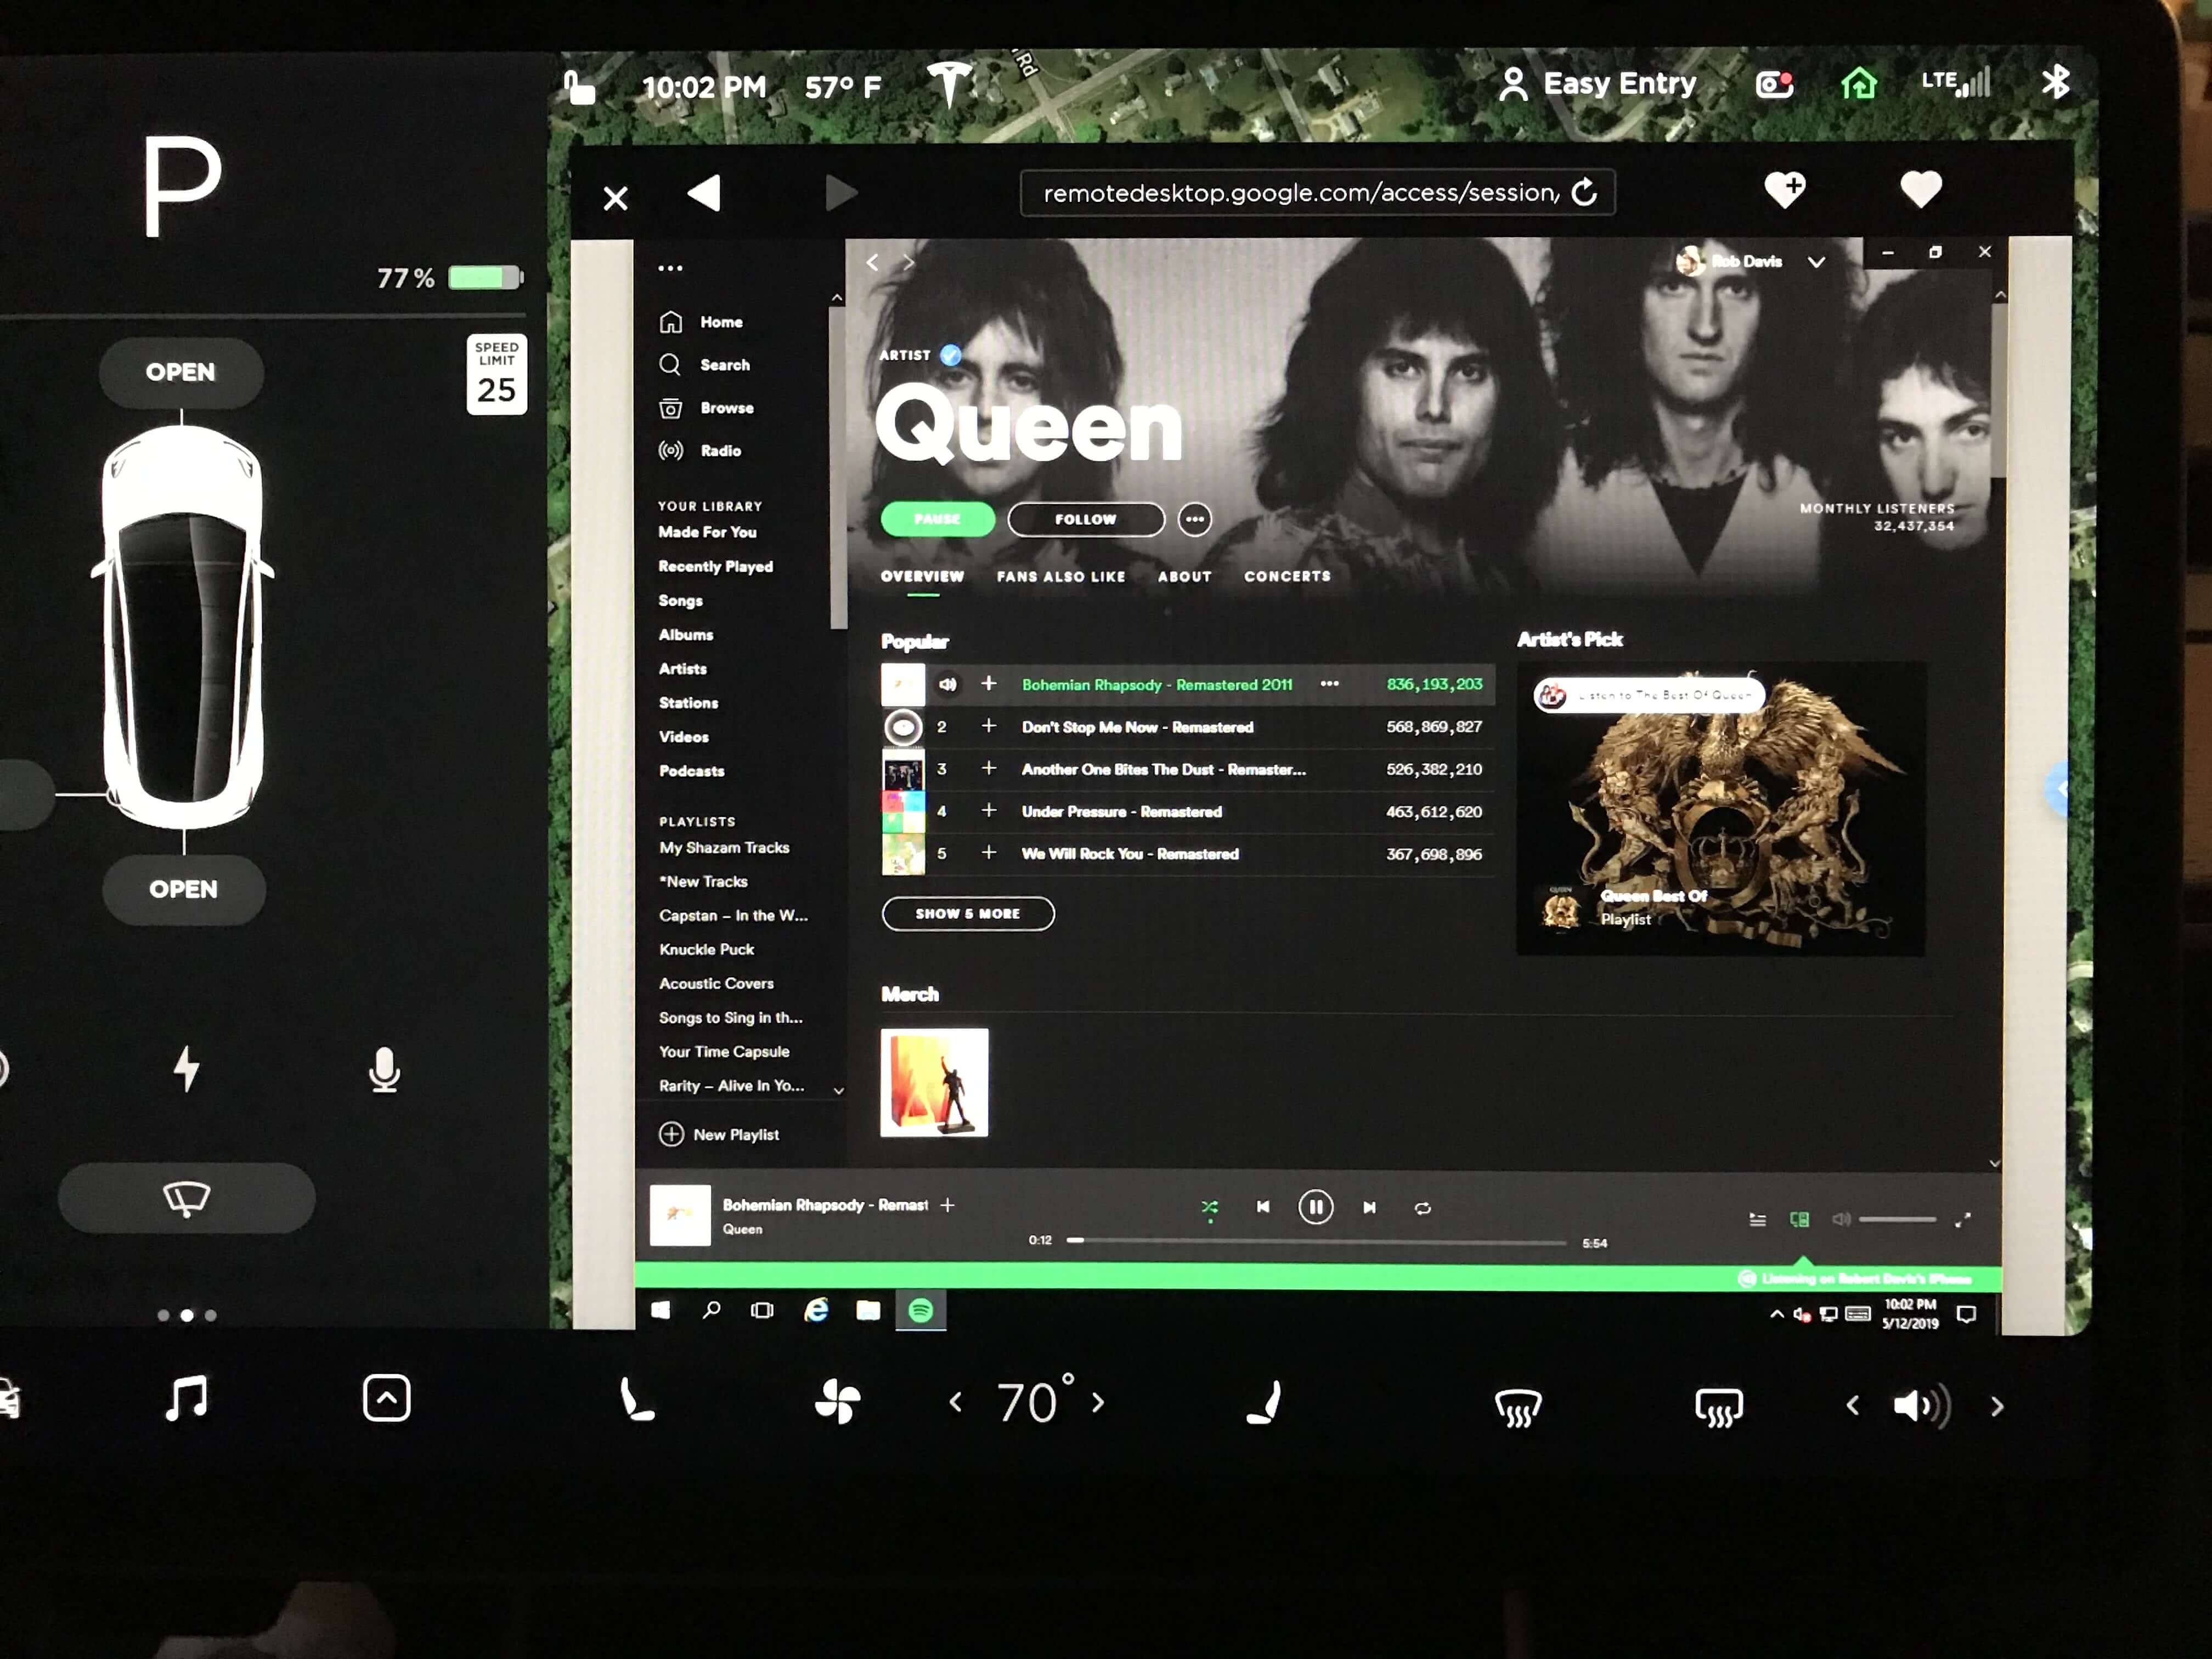
Open Spotify and take a look at the icon to the immediate left of the volume slider.  This is how you control audio being output to your Tesla.  In the first image, the Spotify app on my iPhone is closed.  Within seconds of opening the app on my phone, it shows up as an output device and will likely begin playing Spotify audio immediately.

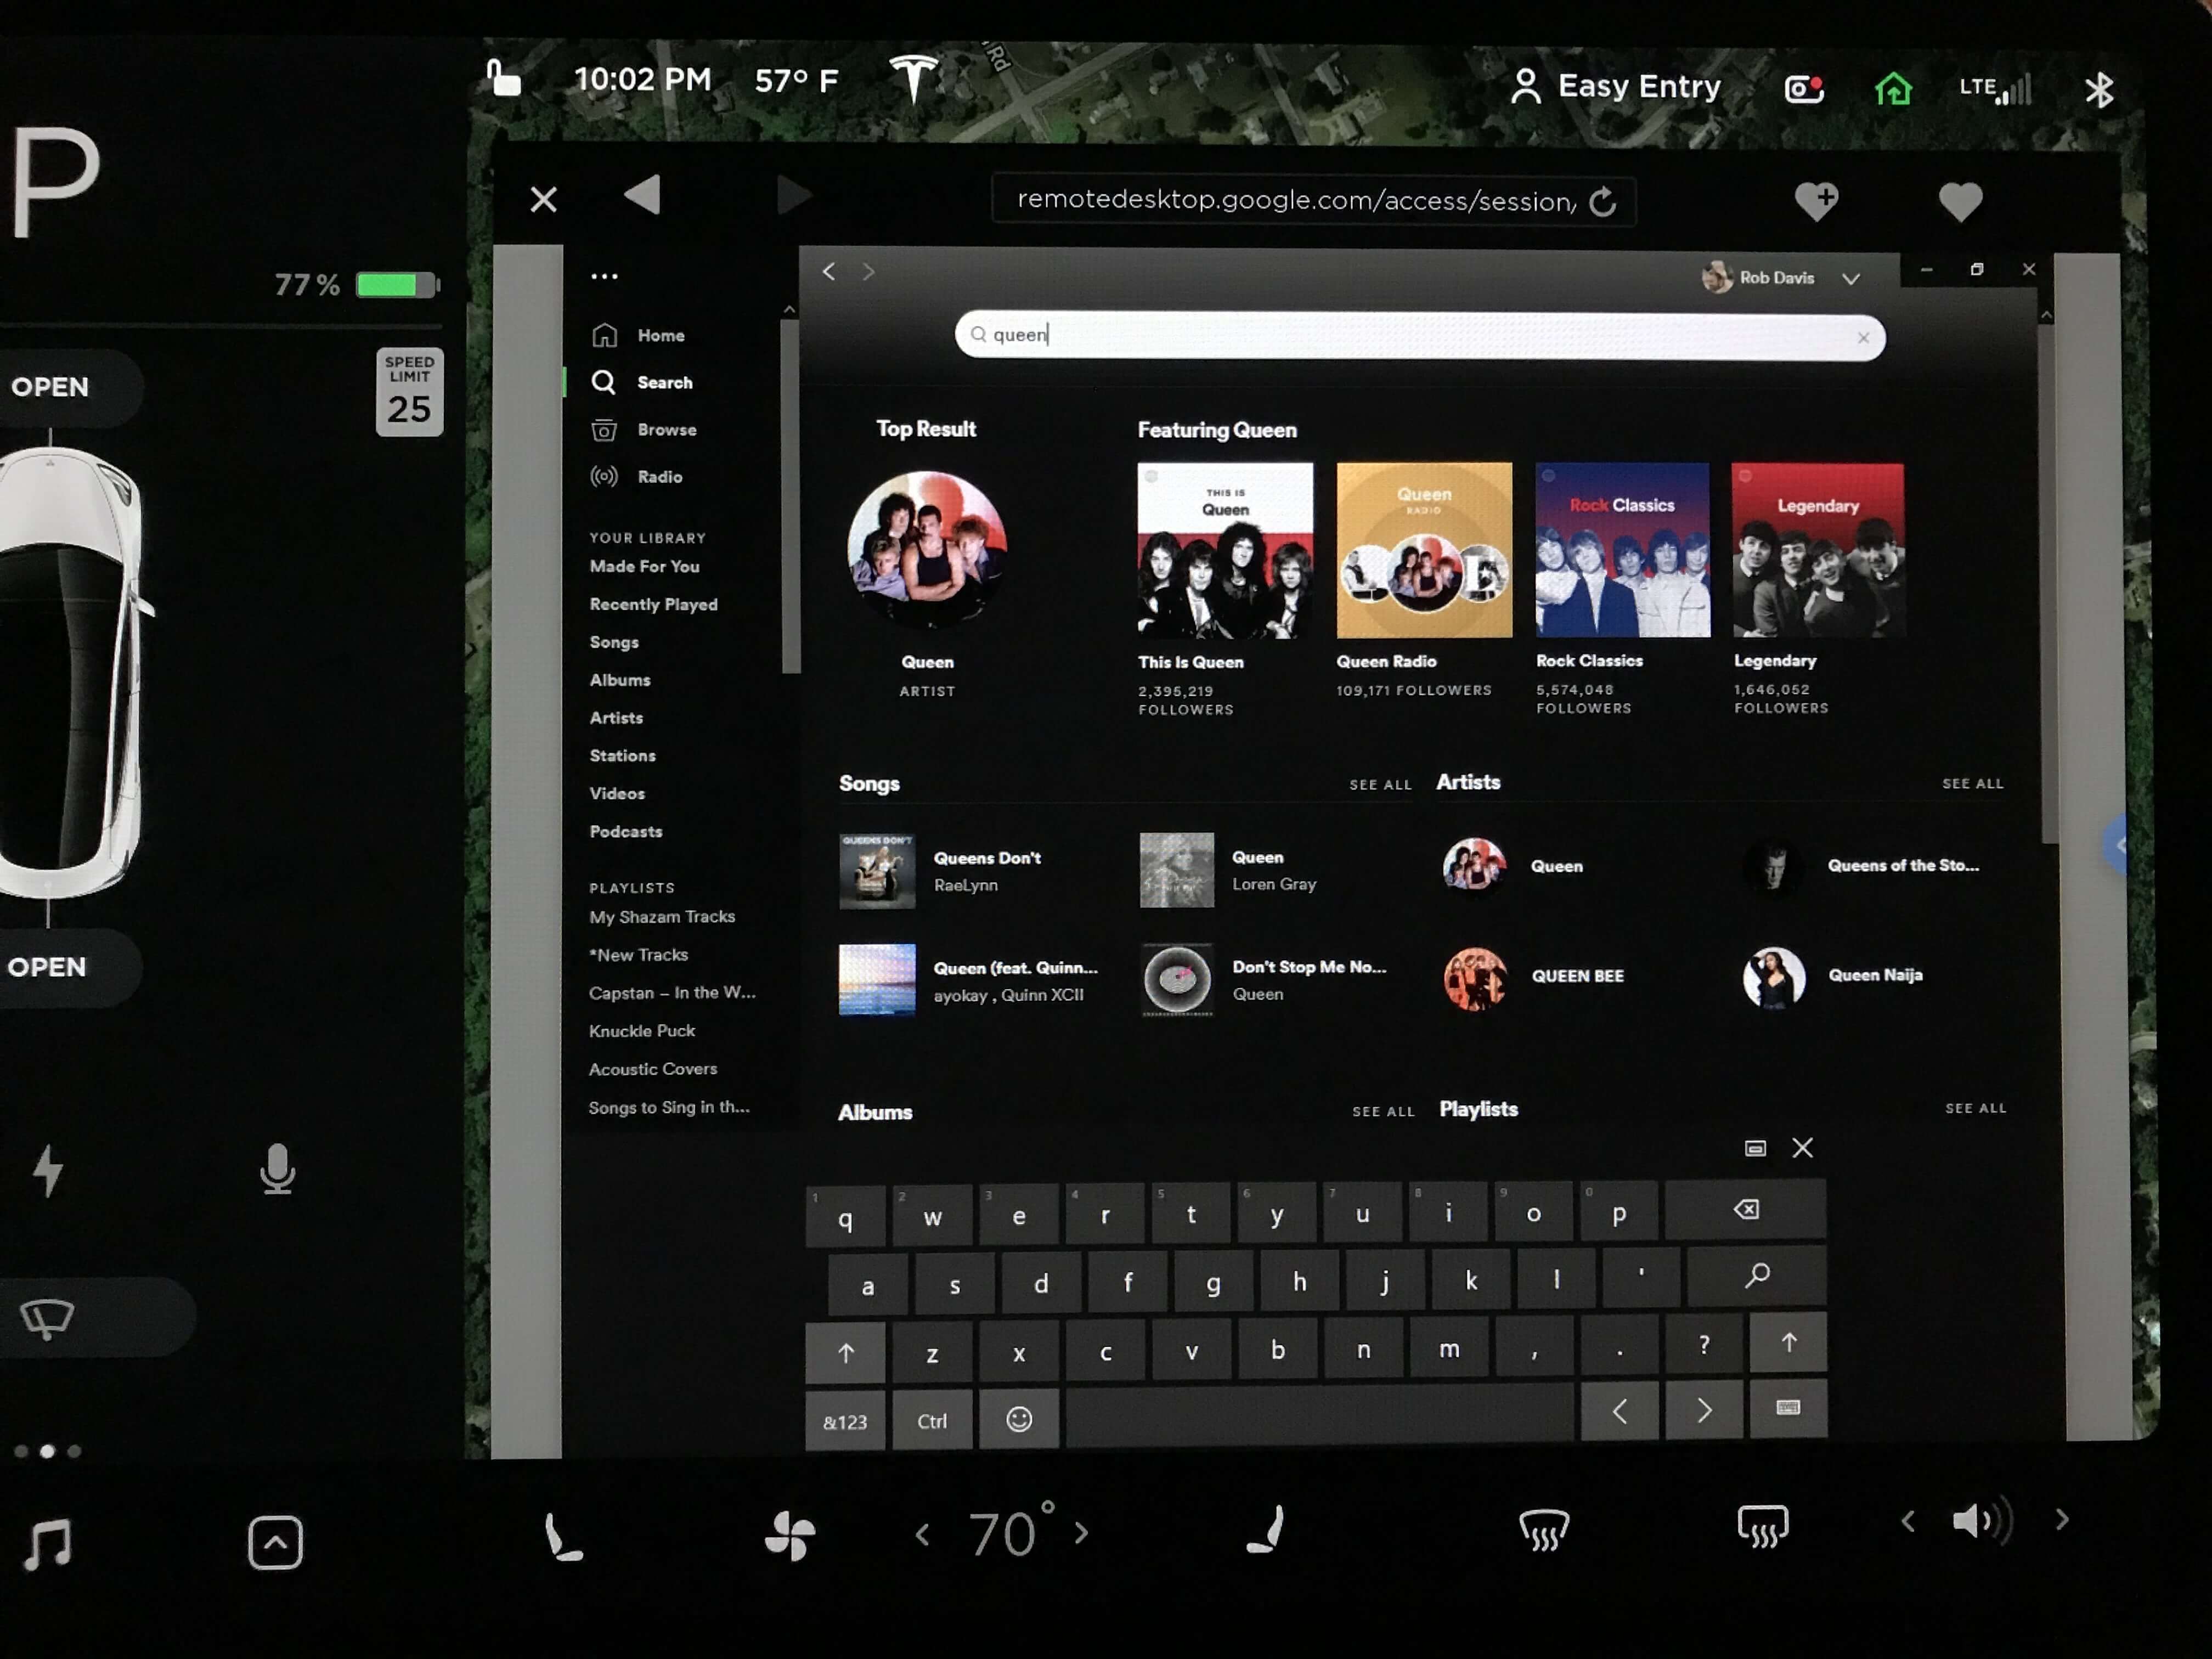
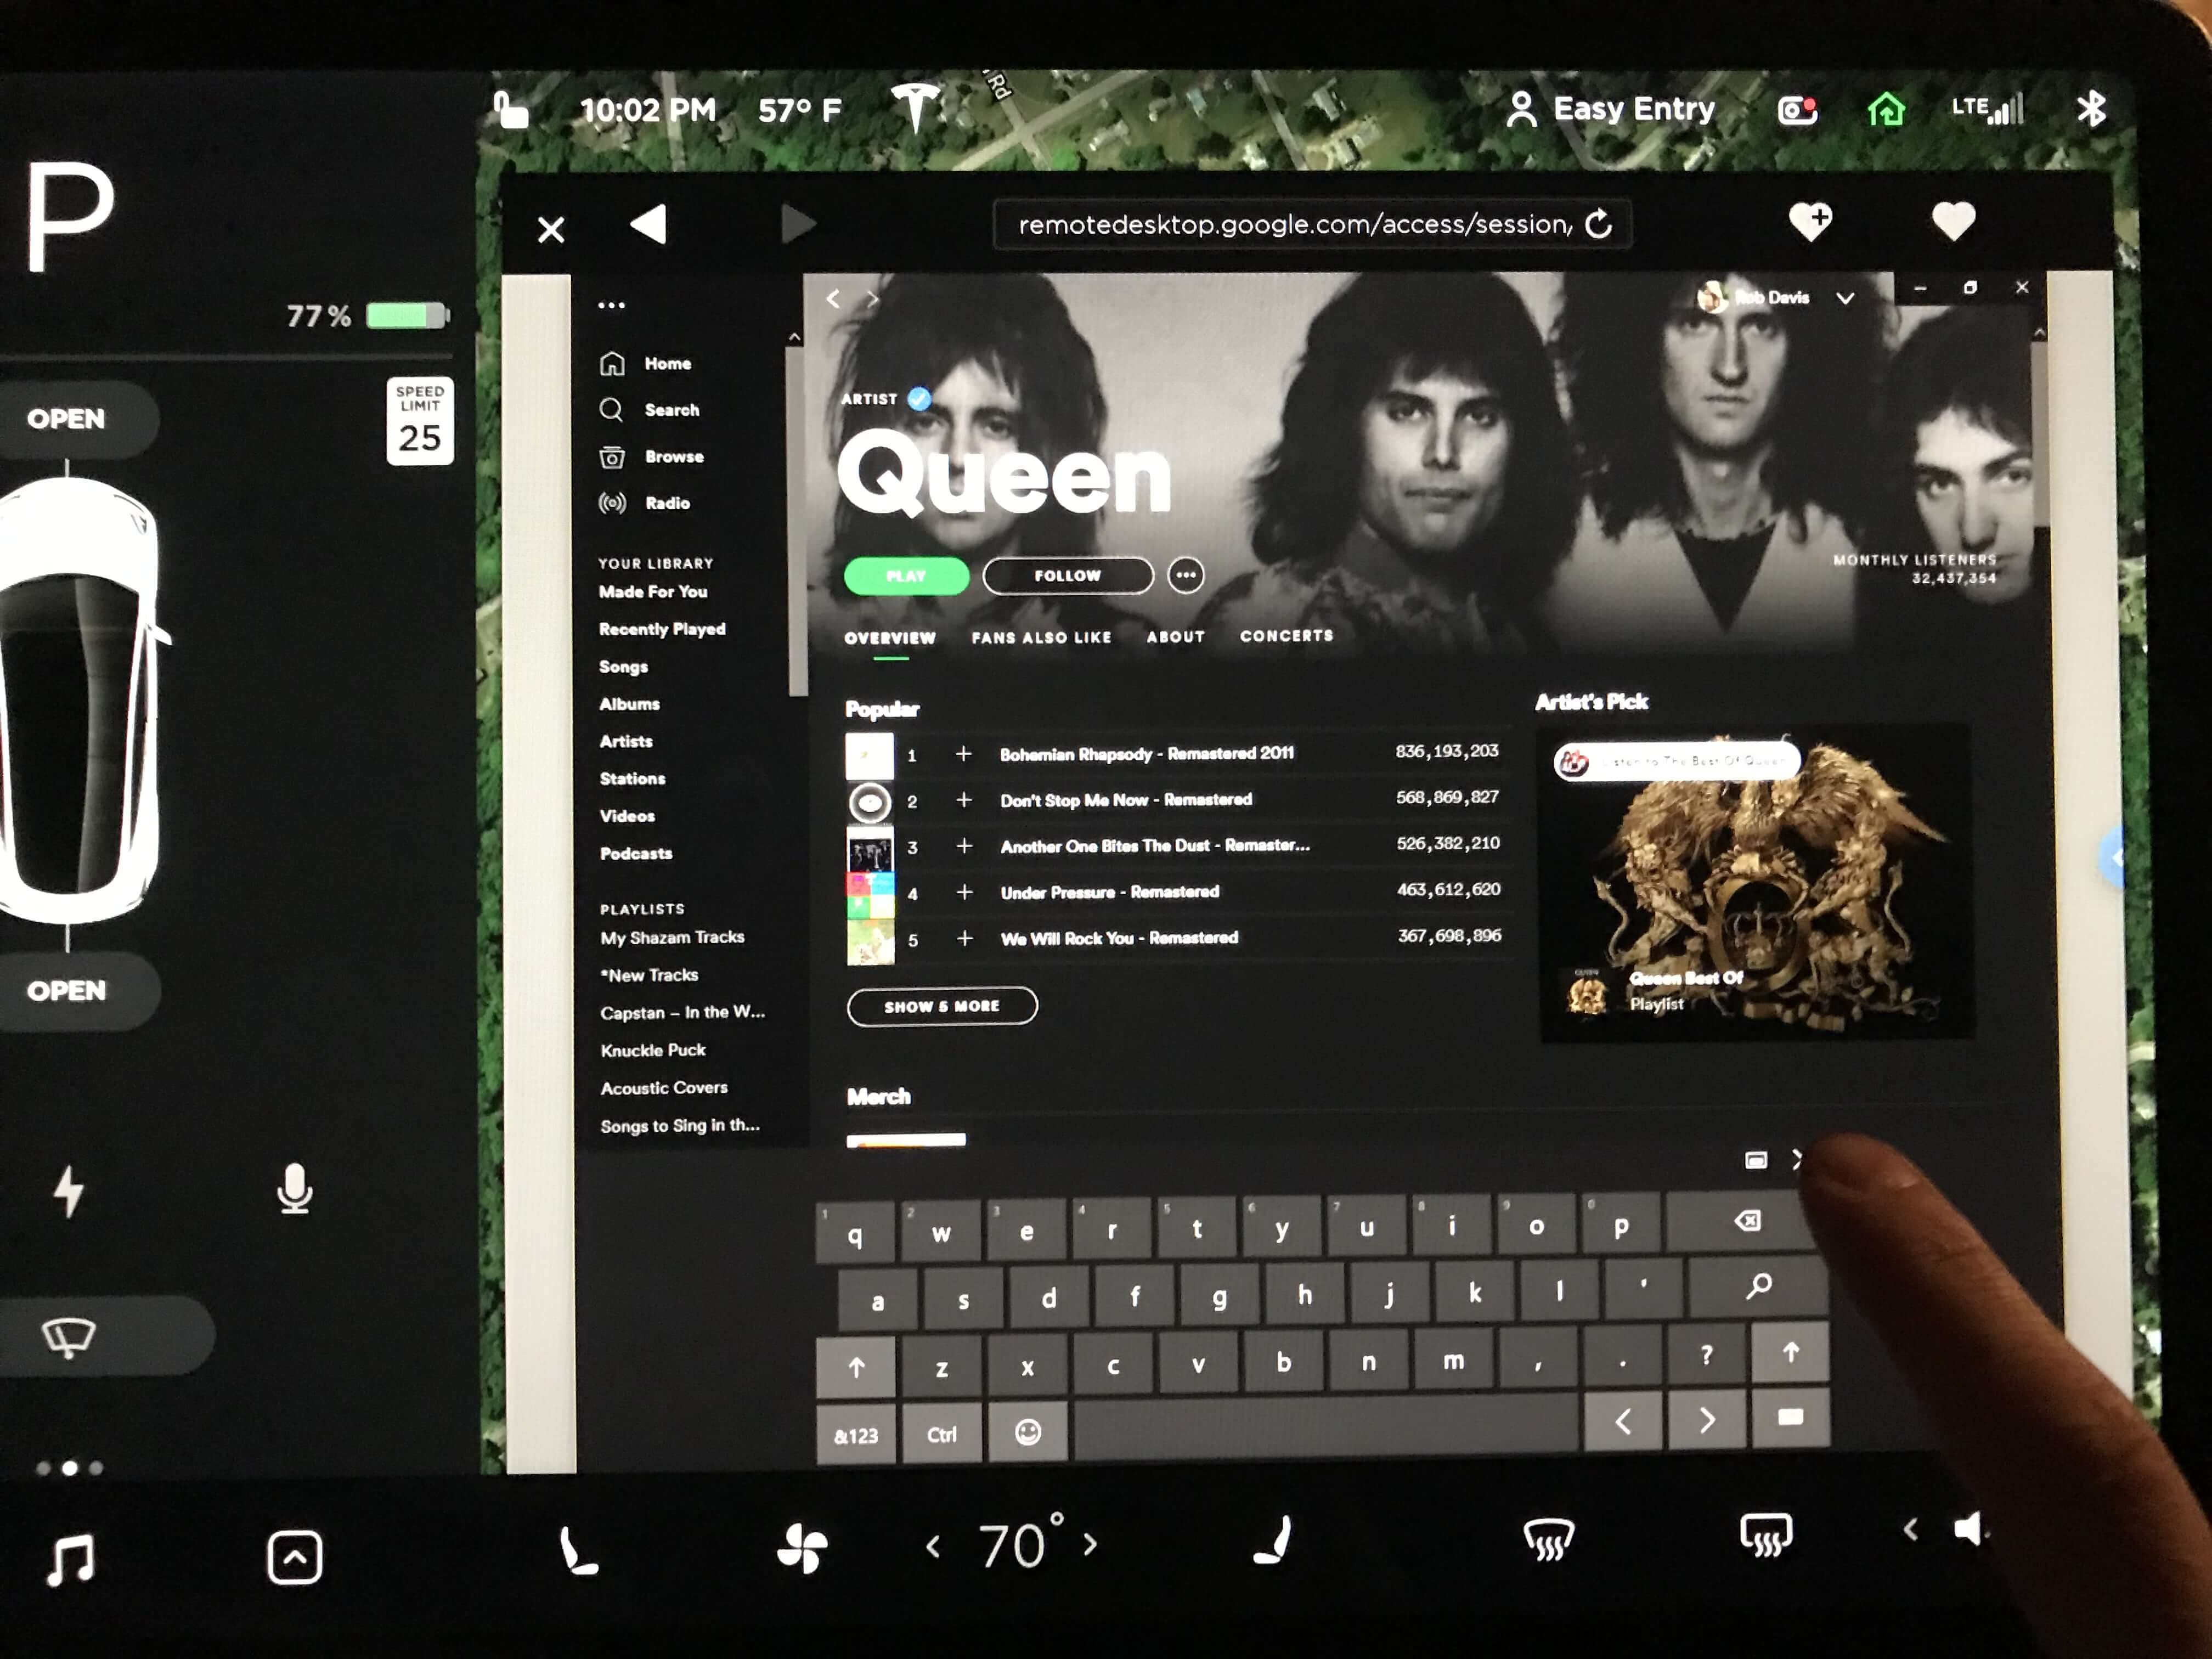
Searching for music is exactly the same as when you’re sitting on your laptop.  In this example, I clicked on the search menu item, enabled the On-Screen Keyboard, searched for “Queen”, clicked on the Artist page, closed the keyboard, and begin seamlessly tapping away at their catalog.

What happens when I minimize/close the browser? The connection may drop between your Tesla and your server but this will have no impact on what you’ve already selected with Spotify.  Music will continue to play and you can skip forward and backward to your heart’s content just like Spotify on your mobile device.

Reconnecting takes 2-3 seconds.  Just pop back into your browser. Click on your server, and boom! Right back where you left off.

6 – Troubleshooting

  • If your server ever appears to be offline, you’ll need to logon to your TurnkeyInternet client portal to force a restart.  They also have an awesome support staff if you’re still struggling to get your server online.
  • Remember to use the TurnkeyInternet client portal to remotely connect to your machine via VNC.  This is the same as plugging a monitor directly into your server.
  • Don’t forget the Windows Server evaluation license is only good for 180 days.  You’ll need to reinstall Windows again to reset this clock

Hi!